


The following short bit on how to make a collage is a post I made back in the blog days (BTW, Substack is cool, because it’s just like a blog, but..…with an audience that really shows up and keeps growing). The original post is a bit tongue-in-cheek but it does simplify things down to the necessary essentials. And sometimes, too much information is just that.
How to make a collage....
dig around for a piece of painted paper, but don't dig too long or you'll drive yourself crazy
cut or tear the paper.....put big pieces down first....the first 2 pieces cover the whole image size
paint on the glue, apply immediately to the surface, place photocopy paper on top and rub, quickly turn photocopy paper over and rub again, so that you rub out any glue that squeezed out....don't let your hand touch the collage....much. You can use a plastic scraper to force out air bubbles, or if you notice any lumpiness in the glue-down.
put your hand in the water bucket every so often, and dry off with gnarly old towel (old is good!), so that you don't stick to your coffee cup
proceed until you are happy with your collage.....and always be happy
stare at your finished collage until you suck the life out of it....at this point you have to make something else....and repeat, forever....
save the bigger pieces of cut up leftover collage paper, but the smaller pieces have to go in the garbage.....or you will surely drive yourself crazy! (but those smaller leftover pieces also look soooo nice....)
always clean up after every session (things can get very STRANGE very quickly)

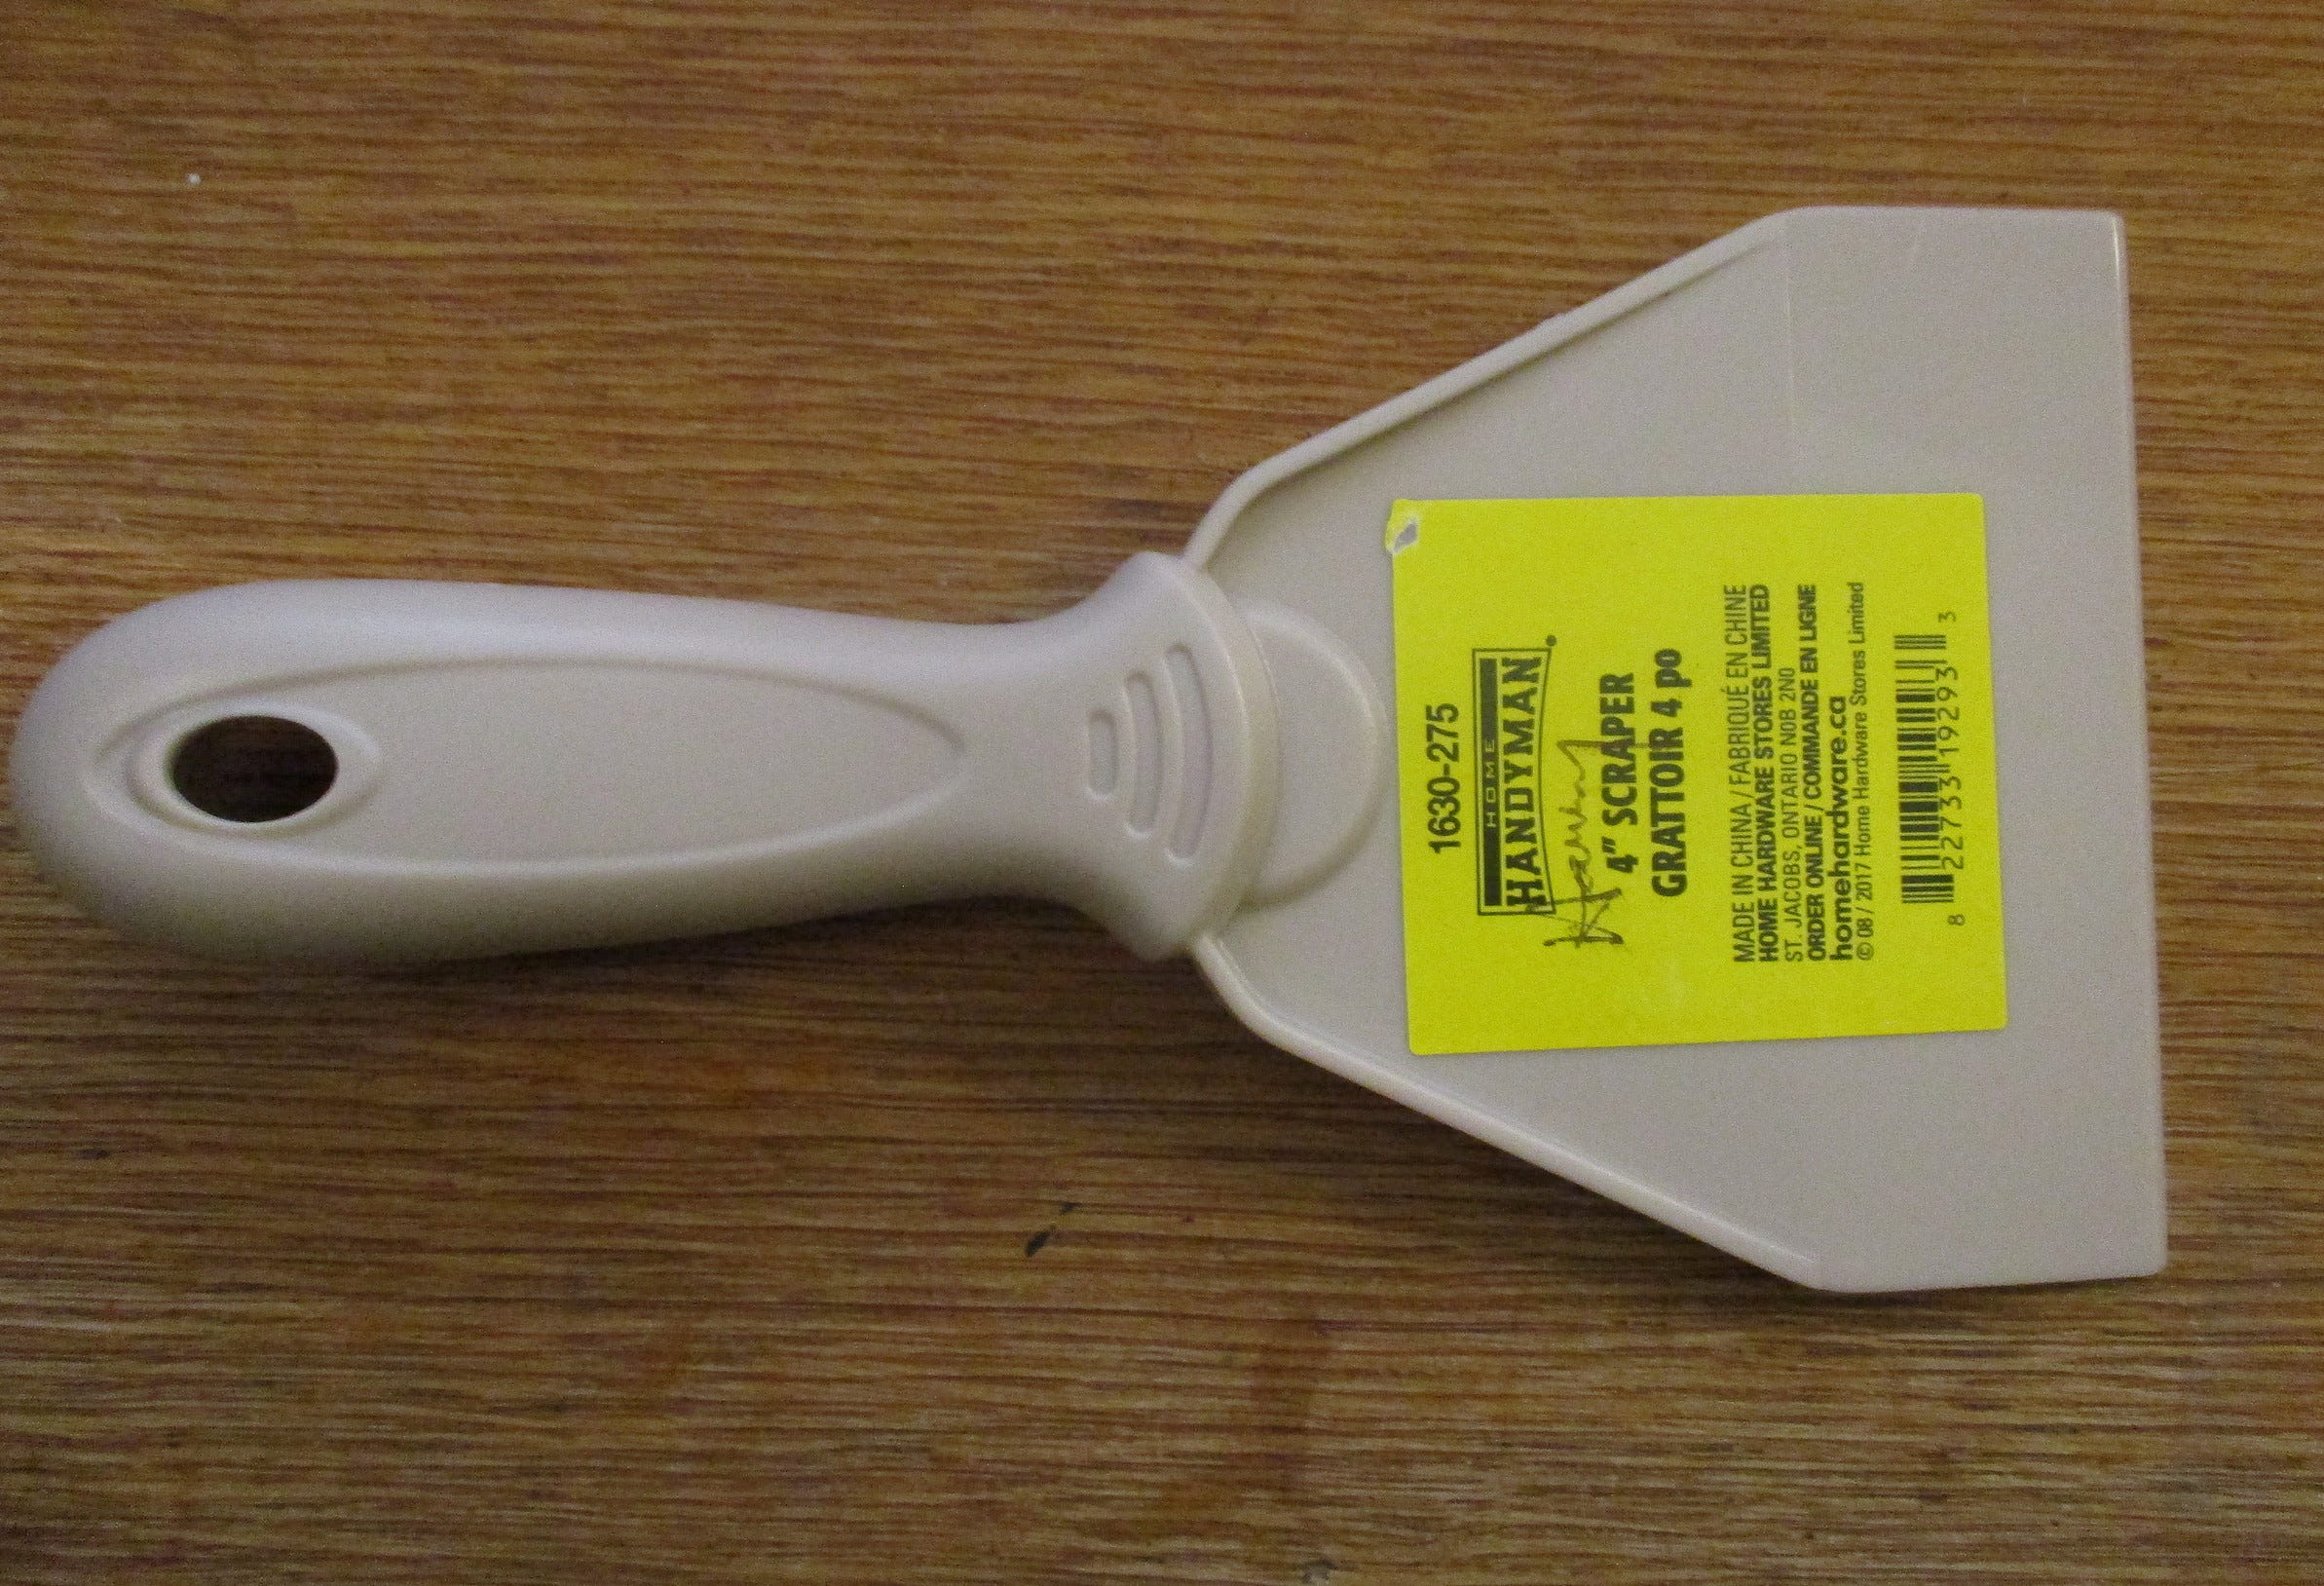
Here’s a good tip: The 4” plastic scraper shown above is a great tool for forcing out the air bubbles trapped in glue and paper. Put scrap paper over the collage bit that you’re gluing down, apply hand pressure and pull the scraper from the center of the image to the outer edges. Lift the scrap cover paper really often, as you will be picking up excess glue that may have squeezed out.
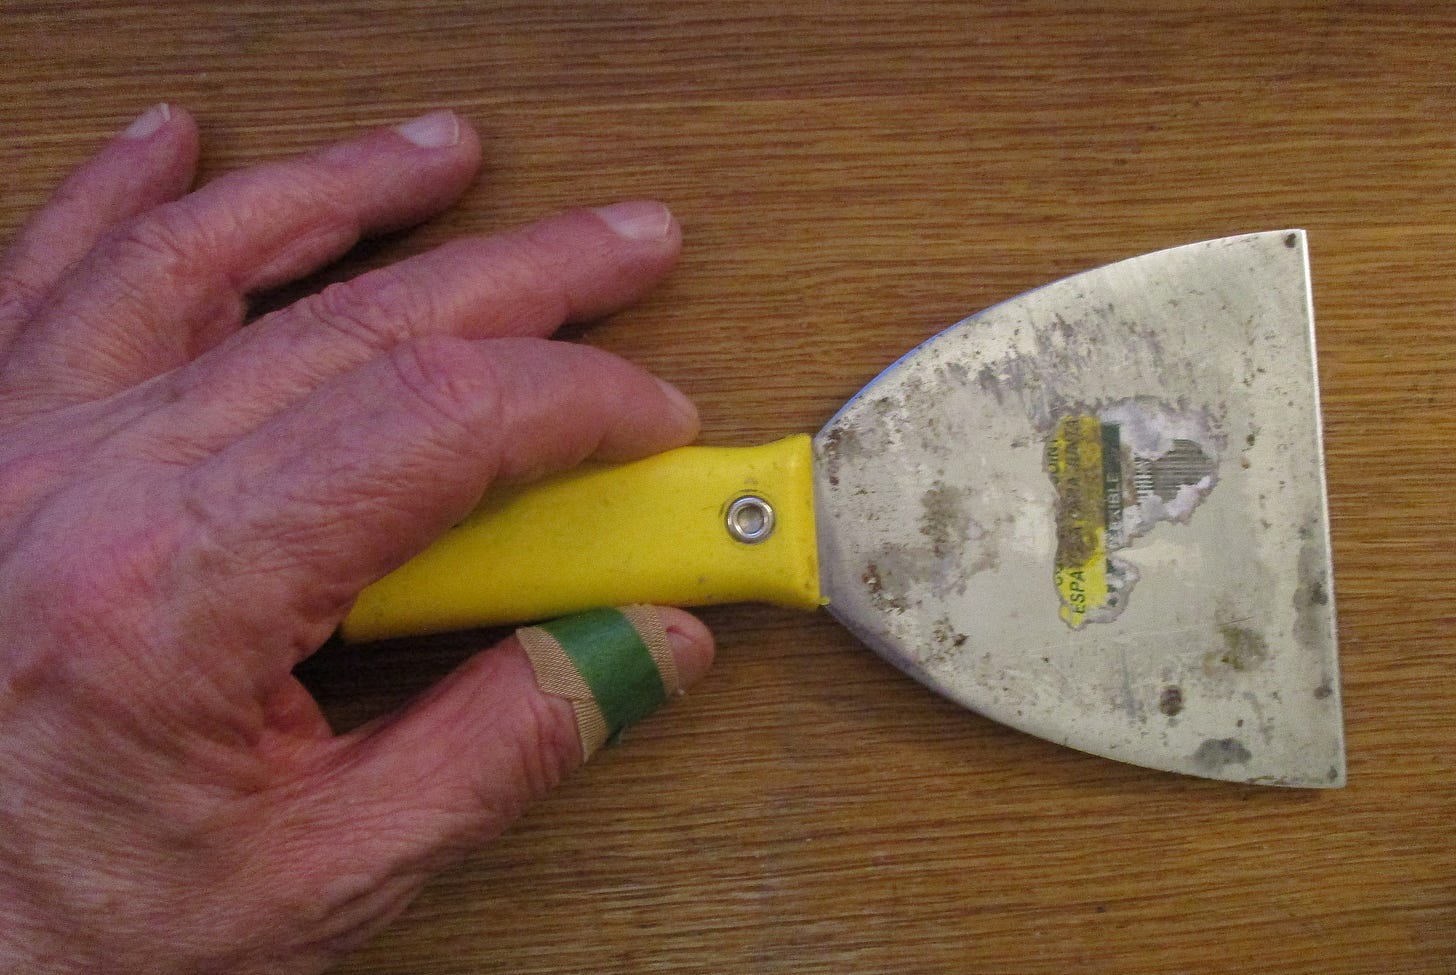
And here’s something to avoid!: I used to use the metal scraper above, BUT, when they are used a lot the metal edge can get very sharp, and I was sometimes cutting myself, because this thing is flying around with a bit of abandon as I’m working very quickly during the glue-down stage. So this metal sucker is getting retired!
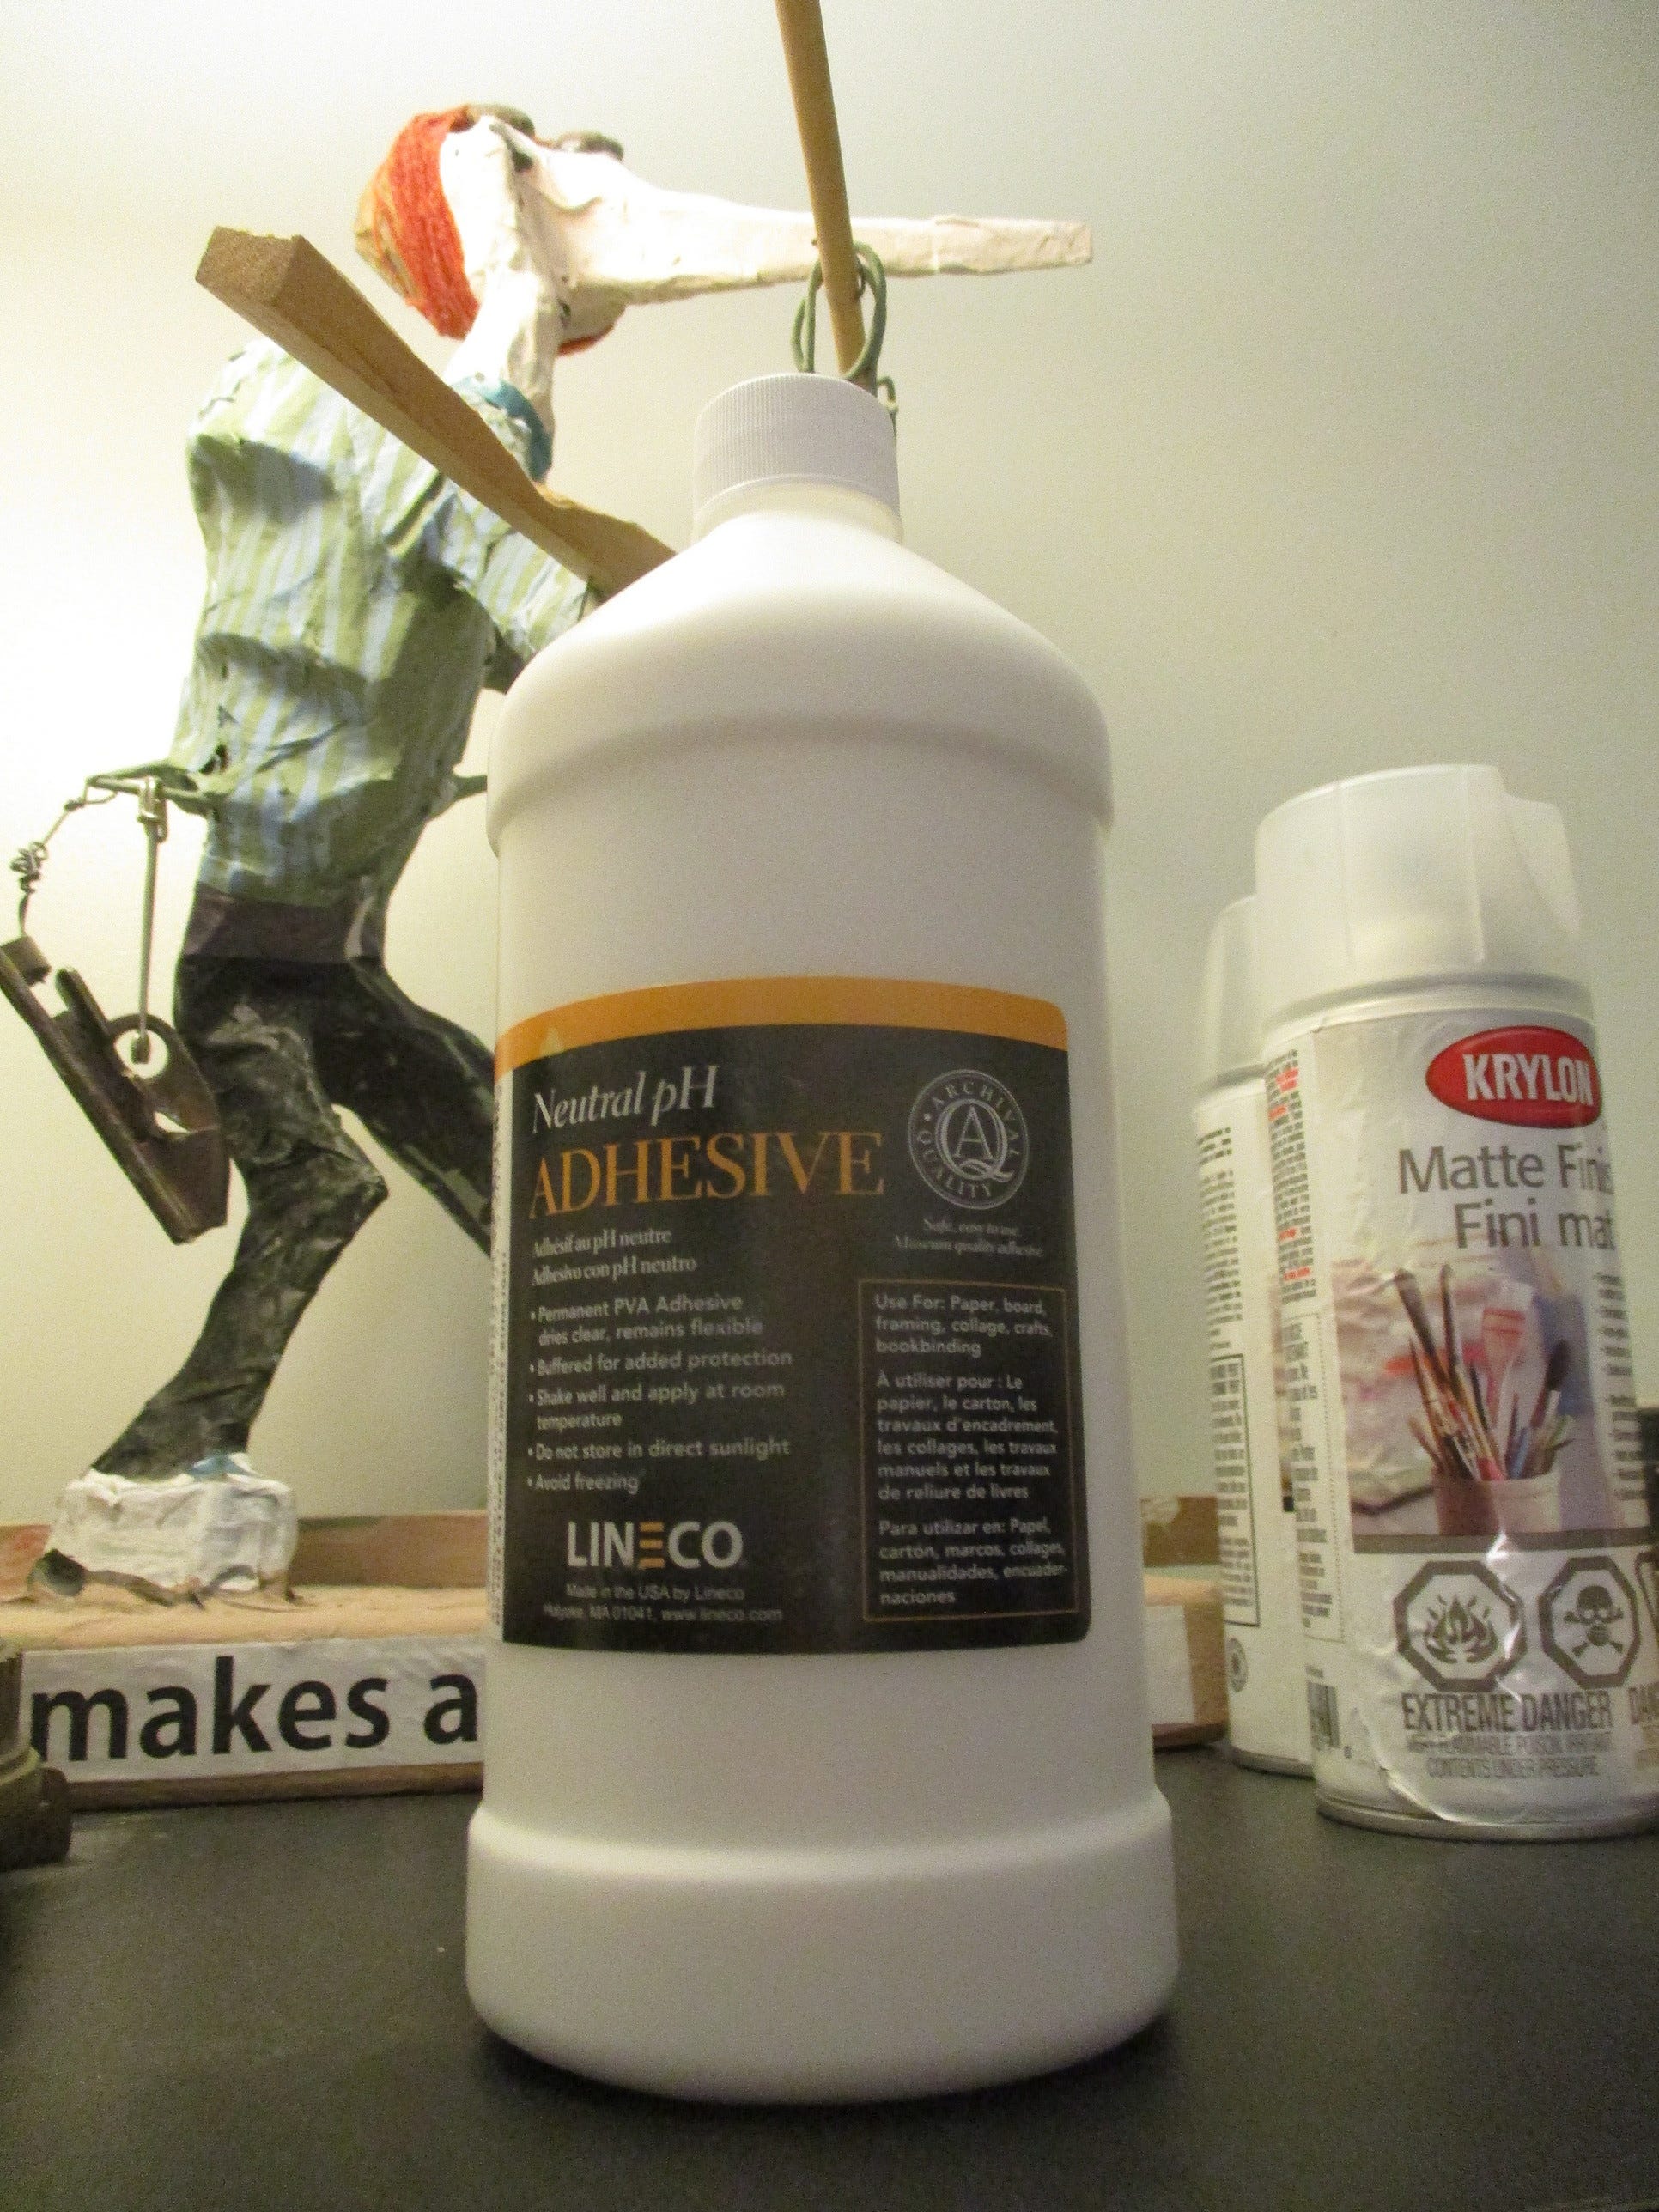
Below is the Lineco PH neutral adhesive I use, and I generally thin it with a bit of water. I buy it online.
And here’s something I just started doing, with great success. When I glue down the first 2 or 3 LARGE pieces of collage paper, I lightly spray the back with water, brush off the excess water, and then I dribble a bit of glue straight out of the bottle over that surface and brush it all into the paper. After I place the paper in position I then I use the plastic scraper over it, to force out air bubbles. The water spray causes the paper to expand, so this works really great…..perfect adhesion! Just remember to put a sheet of scrap paper over the collage piece, before your press and pull with your scraper. This protects the surface of that collage paper, and that’s absolutely essential when gluing down thin papers.

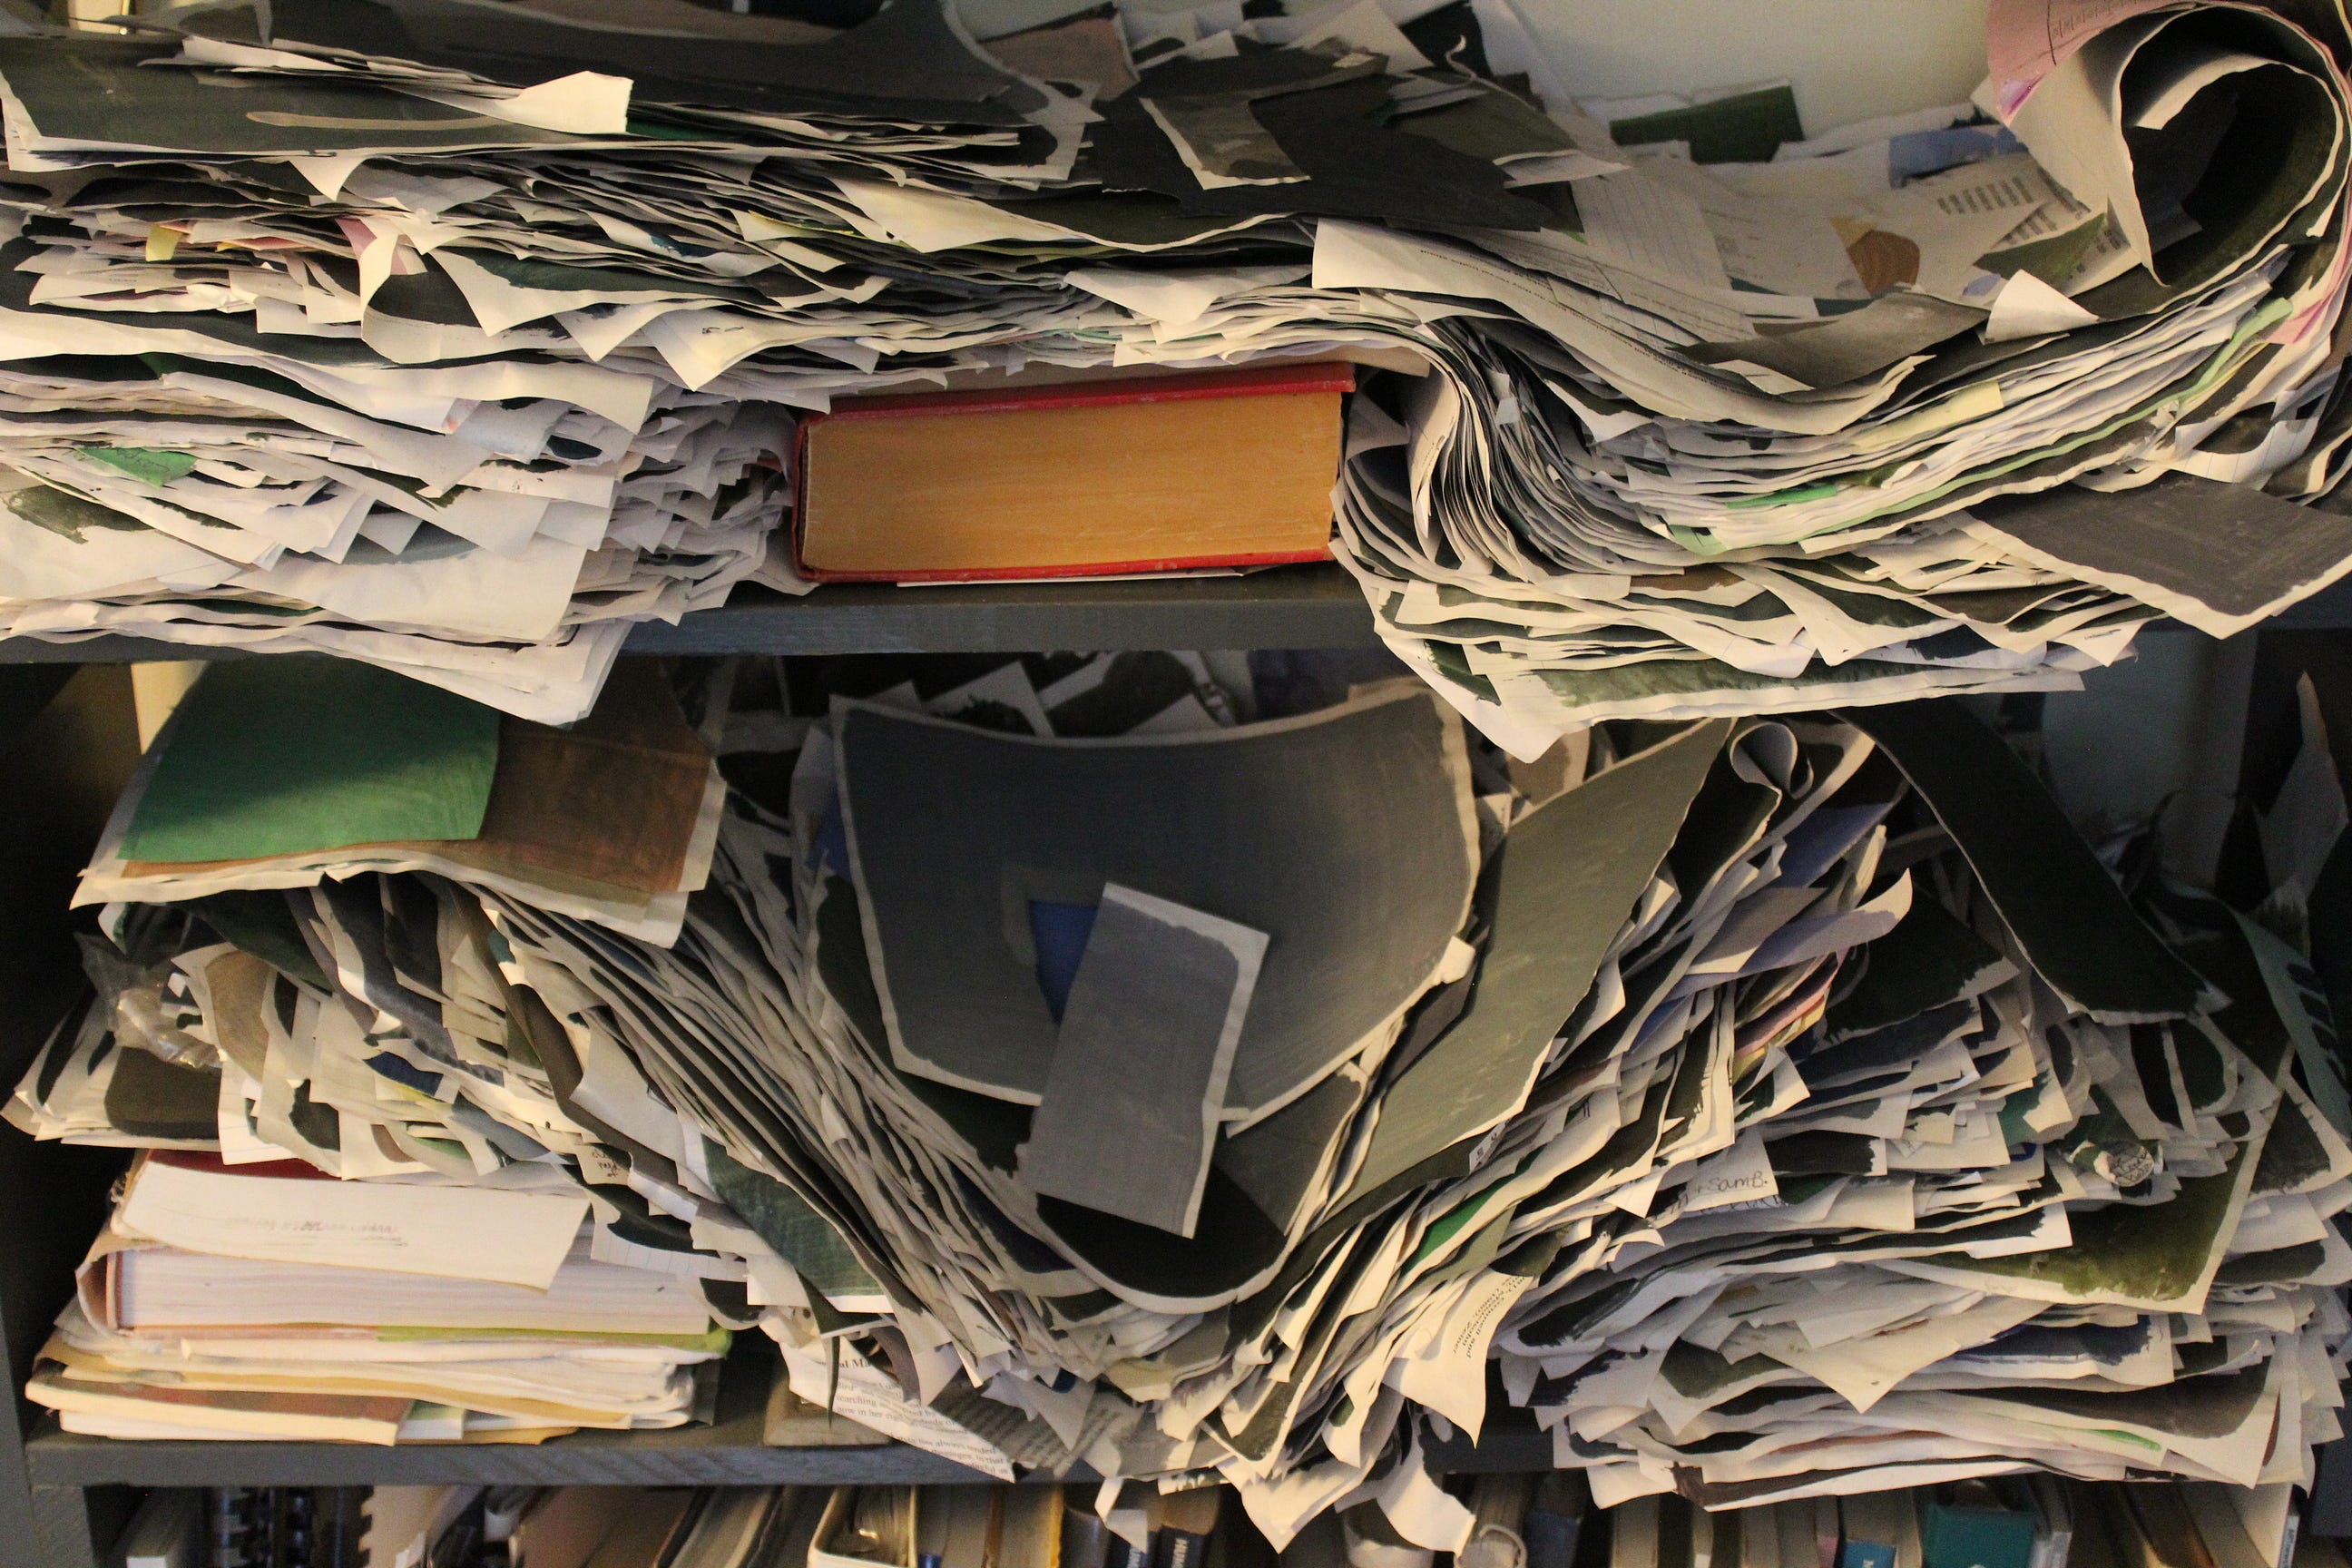
Below is one of my stashes of collage paper. I dig through here very regularly, that’s why it looks like a rat’s nest. I have other painted paper stashes too…..3 big plastic bins full…. (please don’t initiate an intervention)!


Here’s a link to one of my collage videos. It’s a longish video so I suggest watching the first few minutes until you get the logic of my process. There’s a slide of the finished work right at the start, so you’ll see how the work turns out.
Making a collage from start to finish
The opening video shows me making collage papers from leftover acrylic paints after a painting session. I started doing this when I was teaching and students would leave huge gobs of paint on palettes at the end of a period (what can I say…school is weird…everything is timed to the minute ). There was no way for students to gauge how much paint they would use in a period that ended in exactly an hour, so a lot of paint was left. That was my solution to avoid crazy potential wastage, and we used all that collage paper in art projects!
So…Why Collage?
There are many reasons but I’ll mention a few key points that come to mind:
Collage teaches you in a very immediate way the importance of shape and composition. You will be almost subliminally induced to lock shapes together in a balanced way. The method encourages playful, varied, and quick arrangement of shape and this improves your compositional skills in a very short period of time.
The sense of play engendered by collage is automatic and self sustaining. In fact it’s hard to STOP playing with shapes once you start.
Because picture making, whether representational or otherwise, is intrinsically about abstraction, collage is a very natural way to immediately immerse yourself in the elements and principles of design.
Collage encourages a very intuitive and organic approach to managing and arranging color. I’ve mentioned in other places the importance of understanding basic color theory and analysis, but there is just no substitute for intuition in using color. You’ll notice even in the opening video of me painting papers, how the colors just seem to arrive..they are not really CONTROLLED. Collage allows colors to easily collide and you get to see how color relationships are instantaneously formed through proximity. This all takes much longer to do with actual paint and brush, and, you’re not likely to get nearly as many variations of color combinations as you will by simply playing with collaged color arrangements. In short, using collage will develop your sense of color; you become much more tuned to how color creates the life of the painting. You become much more aware of the subtlety of color interactions.
Collage can cure you of over-working and that look of deadly serious conscientiousness, because a simply cut and glued piece will always look fresh as a daisy (provided you keep your greasy mitts off the surface while you’re gluing down).
"The beauty of the collage technique is that you're using sounds that have never met and were never supposed to meet. You introduce them to each other, at first they're a bit shy, clumsy, staring at their shoes. But you can sense there's something there. So you cut and paste a little bit and by the end of the song you can spot them in the corner, holding hands." ~ Jens Lekman
Here are a few more of my collage images:
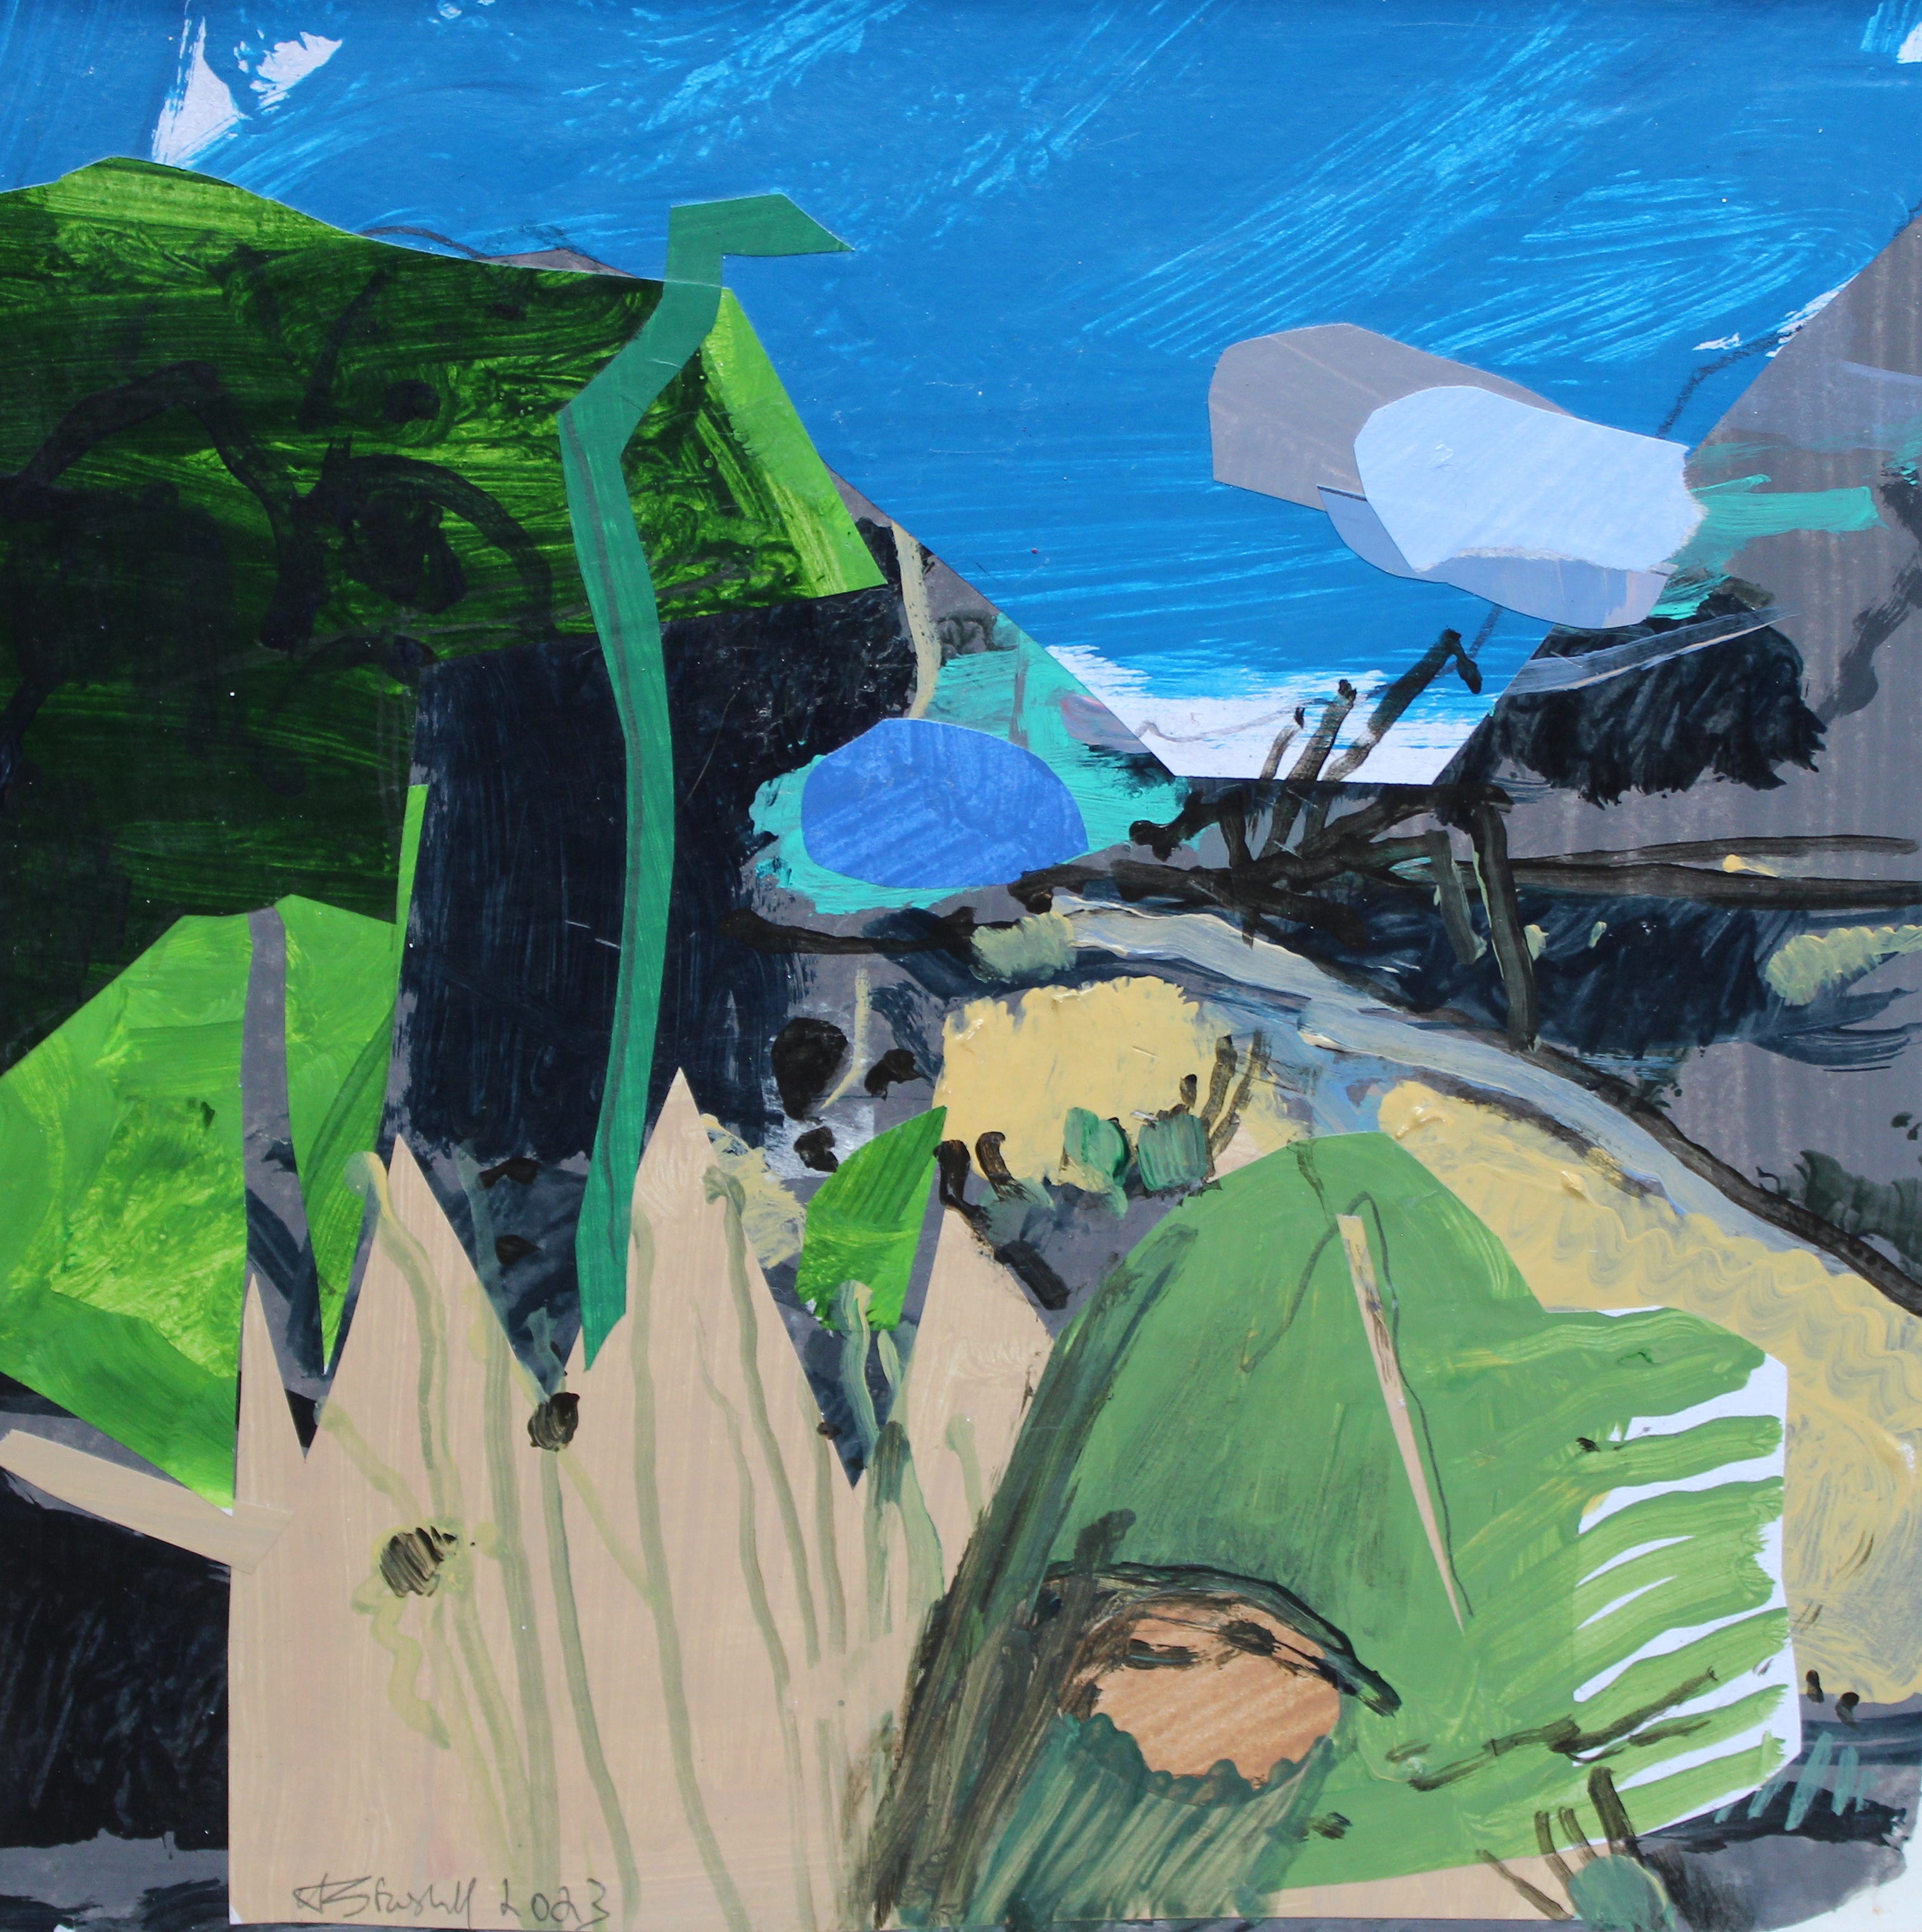
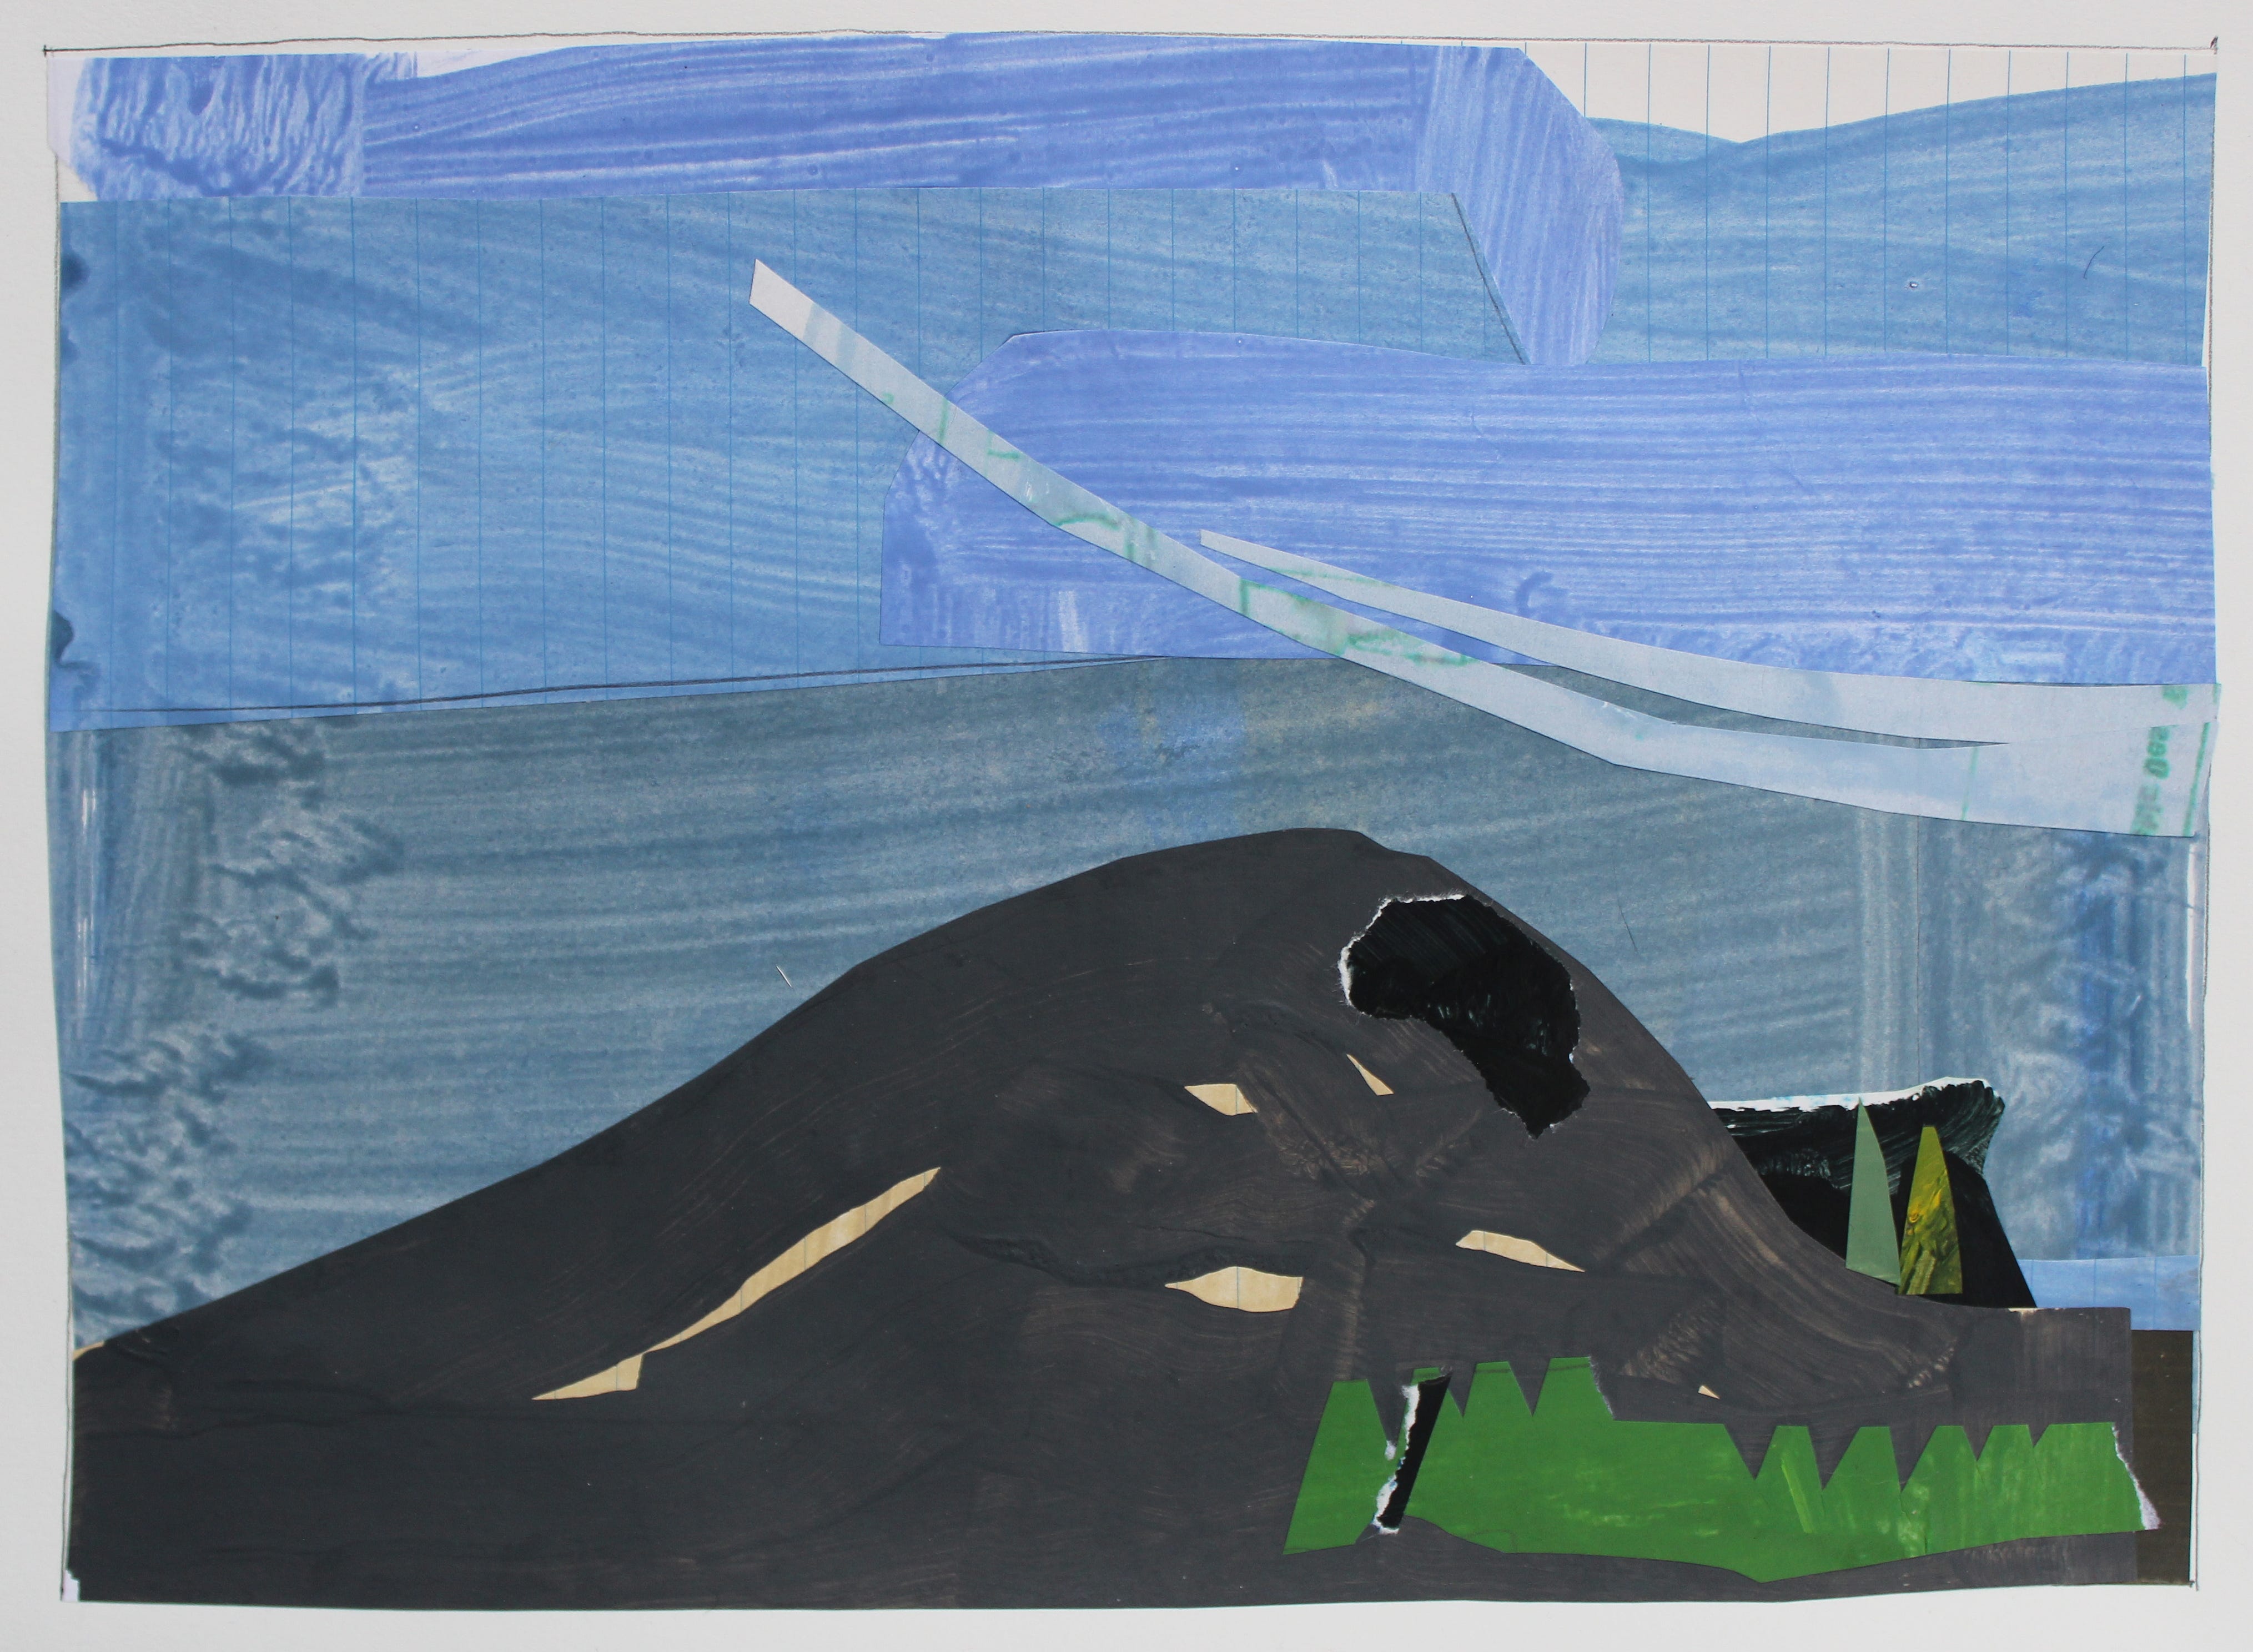
Collage is also used in my more fully representational works, but I’ll leave those for another time. Works such as these abstract collages are often created interspersed with a variety of other observational landscape paintings made on site or in the studio.
While representational work is largely about the process of seeing, responding, and recording…..more abstract work relies on memory, emotions attached to past experience, mental ruminations, invention and workings of the mind. It’s not about creating a visually accurate representation of what the eye sees. Your eyes are important…but you are much more than an eye.
It is this concern with abstraction that collage is so well suited for, and one of the reasons why I’m sure my fascination with it will continue.
"I've worked with collage a lot. And there's this chance thing that happens - you don't always control things. Why did you find this today and not this? But you've got this thing, and you make it work. It's the way life is, I suppose. Whatever happens, you deal with it." ~ Christian Marclay
As always my daily production goes right into my website listings and my Etsy shop:

Share this post