I became enchanted with encaustic painting quite a few years ago when I saw some pieces and I just loved the wax surfaces. There was something so warm, intimate, mysterious, and touchable about this medium.
The wax surfaces seem unique to me…not really similar to any other type of painting. And on top of that, the paintings feel lovely to touch, and the beeswax makes them smell so good! An encaustic painting can be periodically buffed lightly with a tissue or soft rage to bring up the surface sheen.
Because the painting process inherently relies upon the melting and flowing of wax pigment, a unifying aspect affects the surface, and visually interesting ‘accidents’ happen almost instantaneously. This means that the artist must be hyper vigilant during the wax melting or fusing process to immediately halt wax movement when a fascinating effect is seen the second it emerges. A moment of inattention while heating wax surfaces can cause a beautiful passage to melt into mush!
Encaustic wax surfaces are incredibly seductive, but the process and techniques must be treated in a few particular ways to avoid a hot mess.
In this piece, I’ll lay out a few key things to keep in mind if someone is interested in diving into this method of painting.
(above: doing my encaustic setup by the pond. It’s nice and breezy out here)
You’ll be able to figure out many basic things from what I show here, but it might be helpful to take a course from someone to give you lots of confidence with the process, and to set you up with the materials.
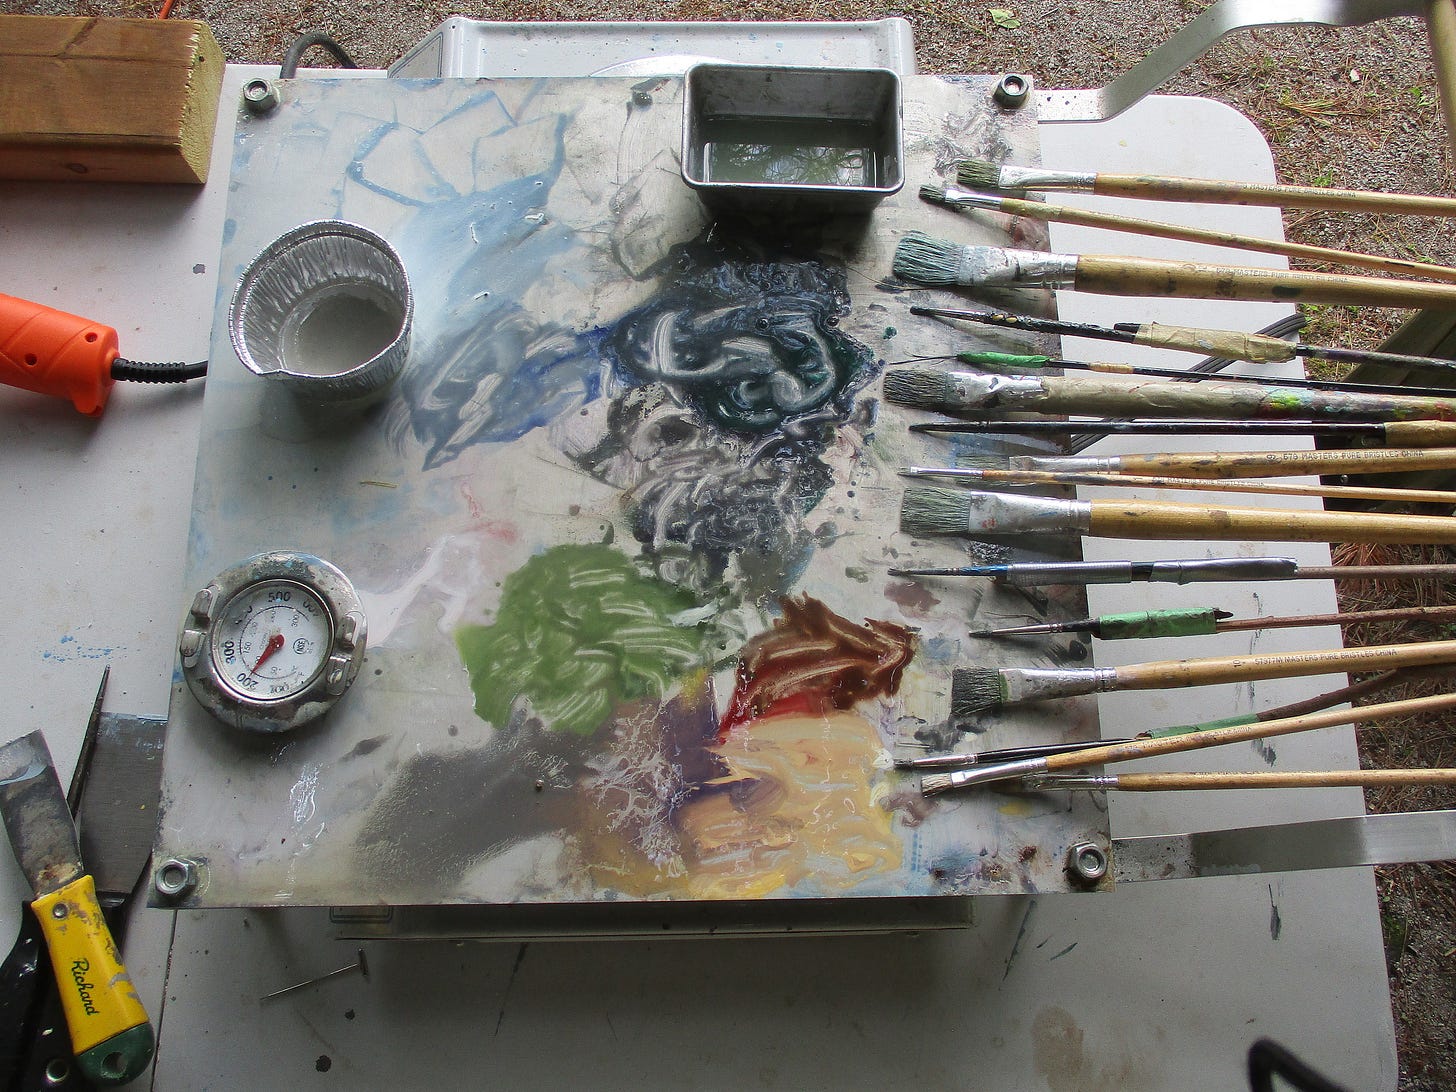
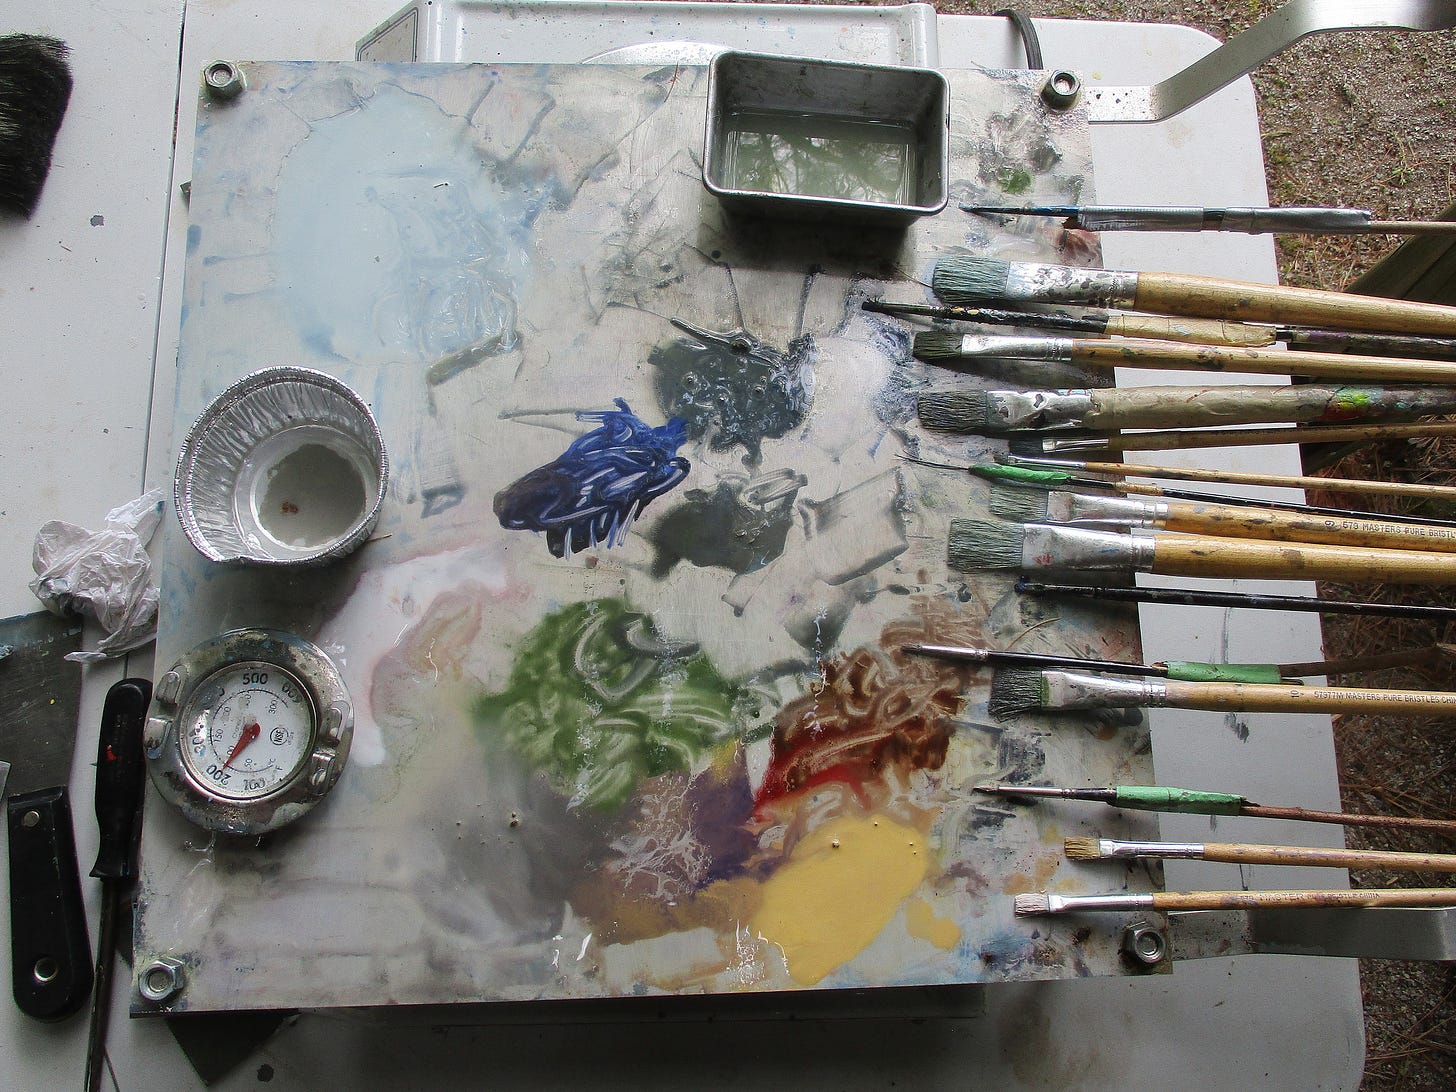
Shown above is a heavy aluminum palette built on metal stilts so that a 2-burner hotplate fits beneath. This palette was assembled for me but I suspect something comparable exits for purchase out there. Notice how the brushes sit on a wooden rod so that the brush ends are always molten with wax on the hot palette.
A couple of old electric fry pans will work if a palette like this is not available.
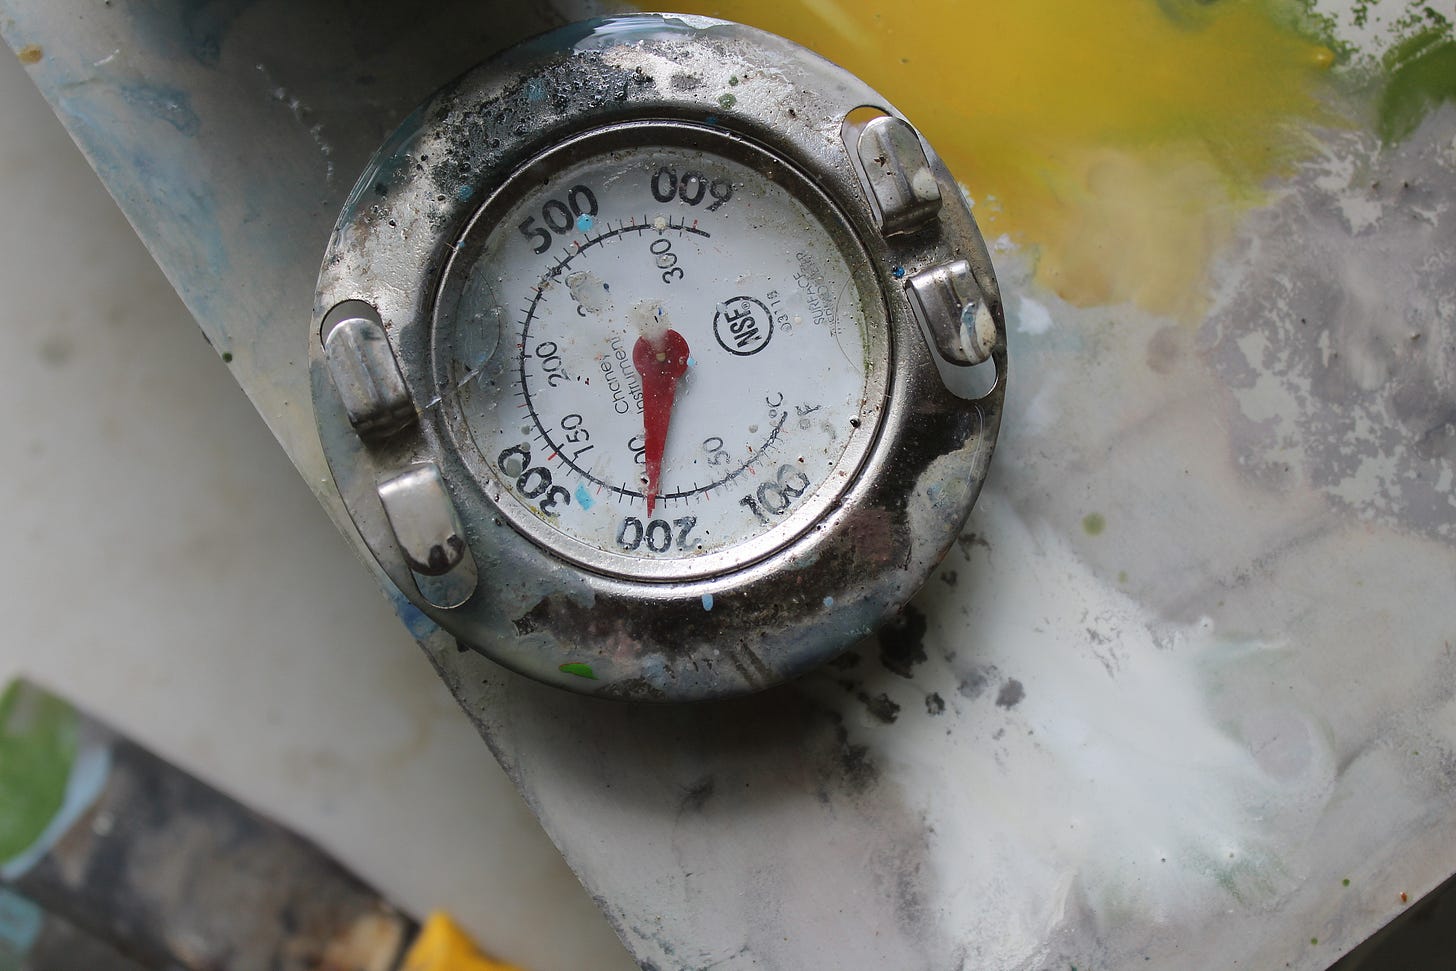
The metal thermometer is there at all times so that the temperature never exceeds 210 degrees F. (you can set the controls on your hotplate).
One container is for encaustic medium, which you can dip your brush into and mix with the molten paints….it’s very useful to do this and it helps your paints go further.
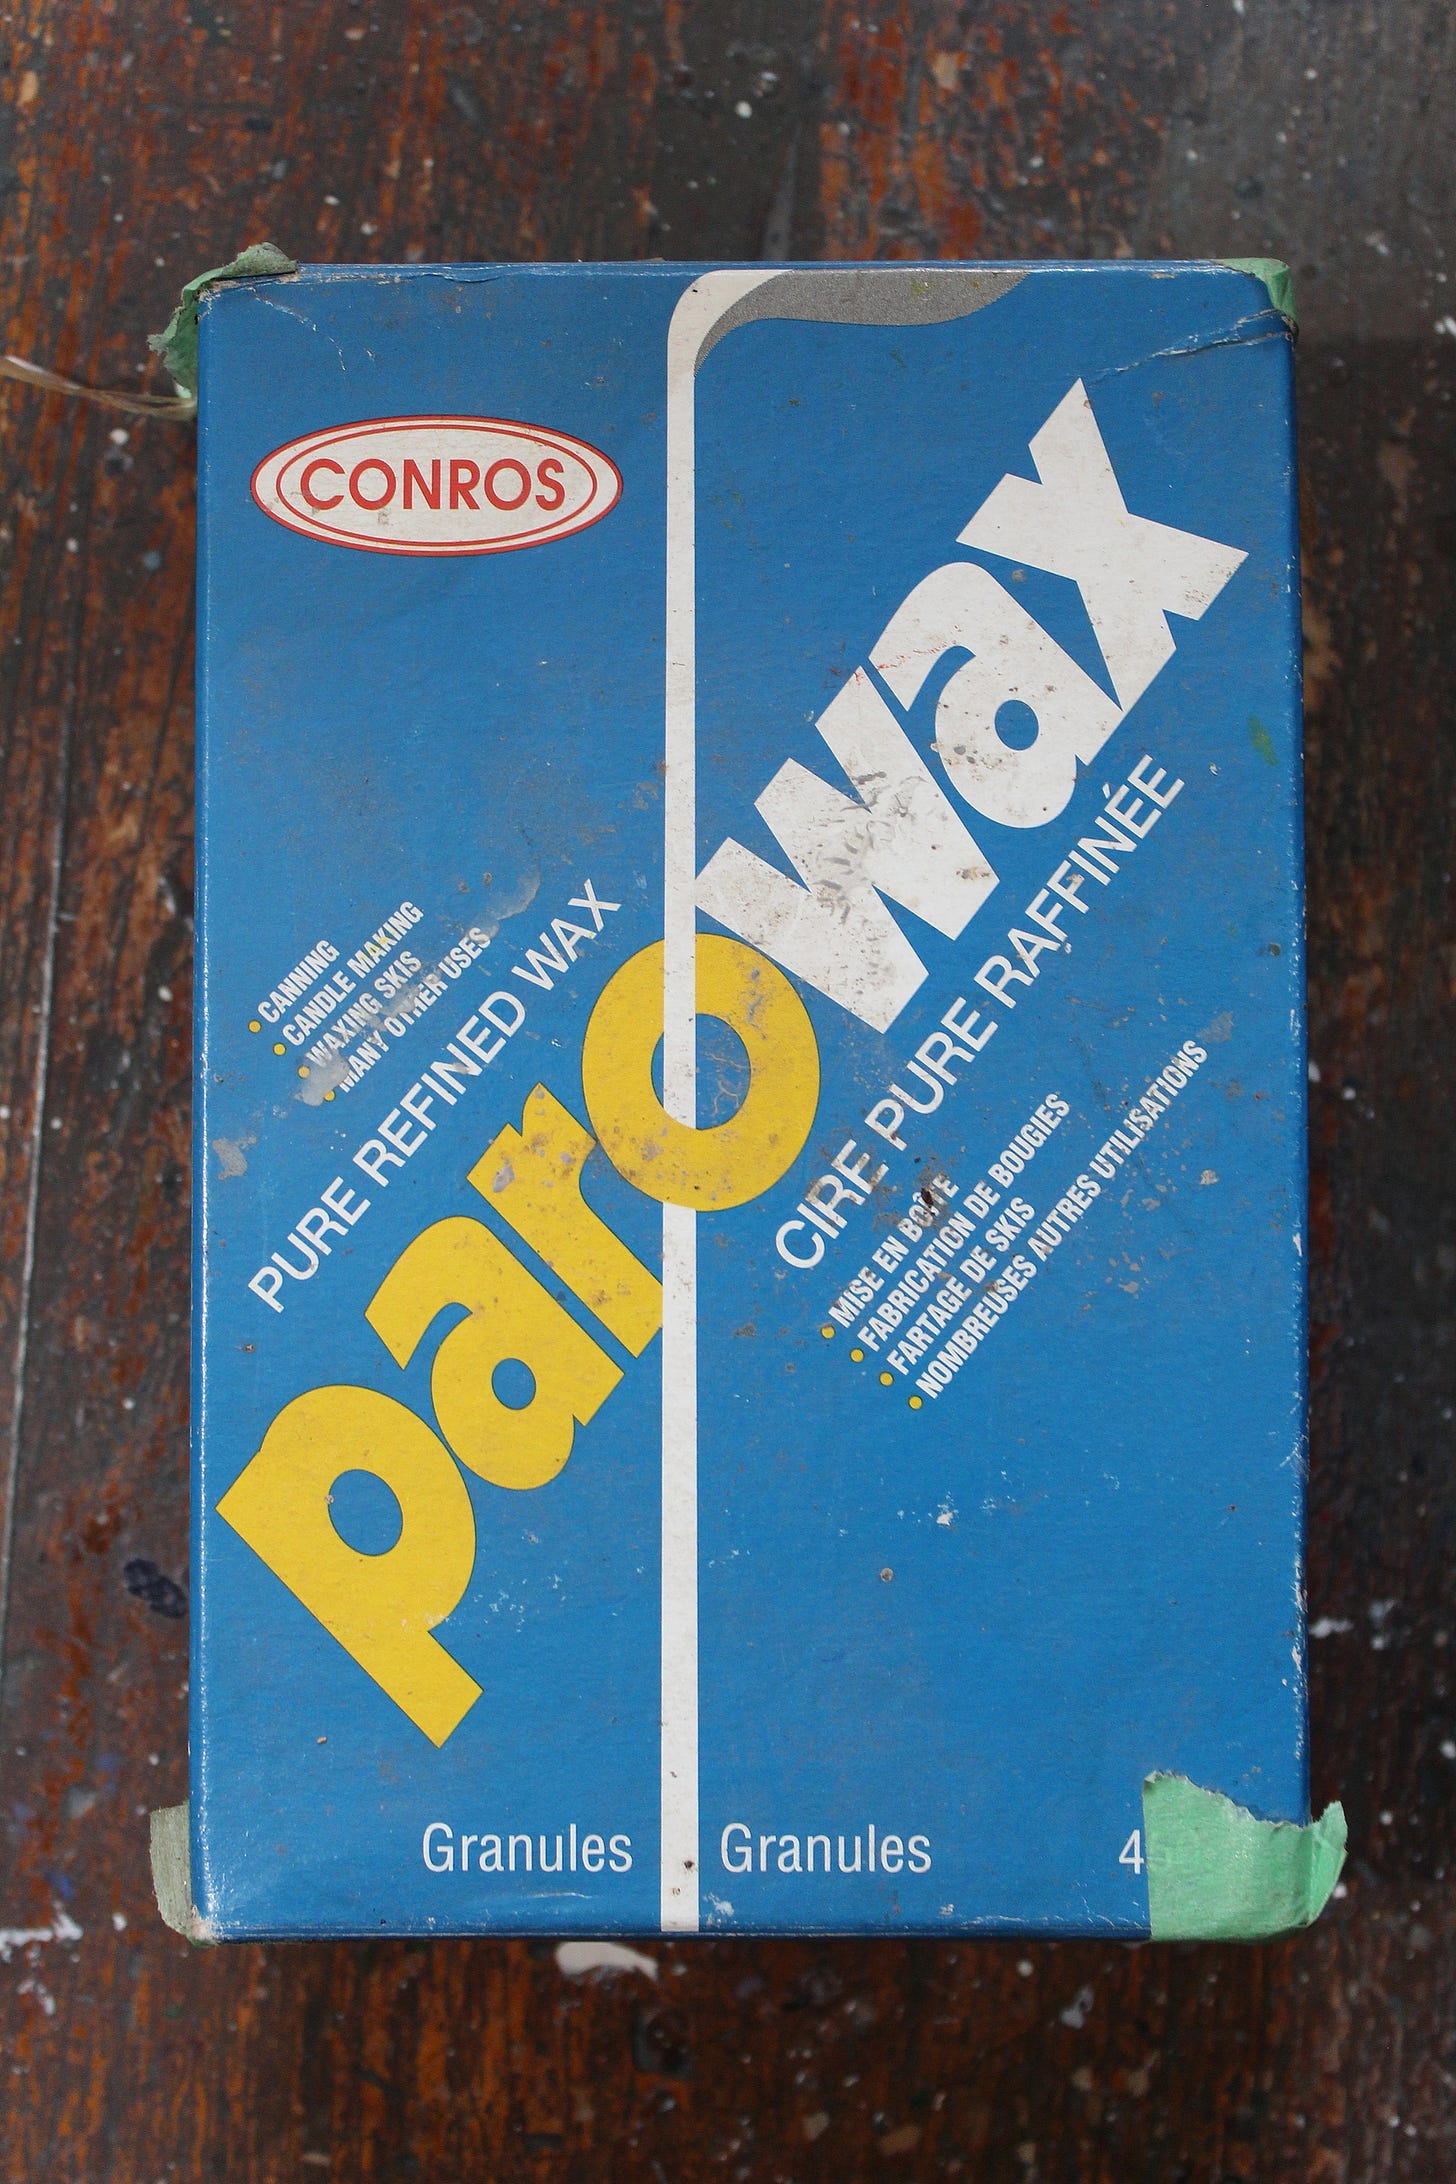
The other container is for Parowax for cleaning your brushes (it’s cheap and you can buy it in a box in lots of places). Just dip your dirty brush in melted Parowax and wipe it off quickly with a paper tissue (everything had to be quick with encaustic because molten wax will harden in a second or 2).
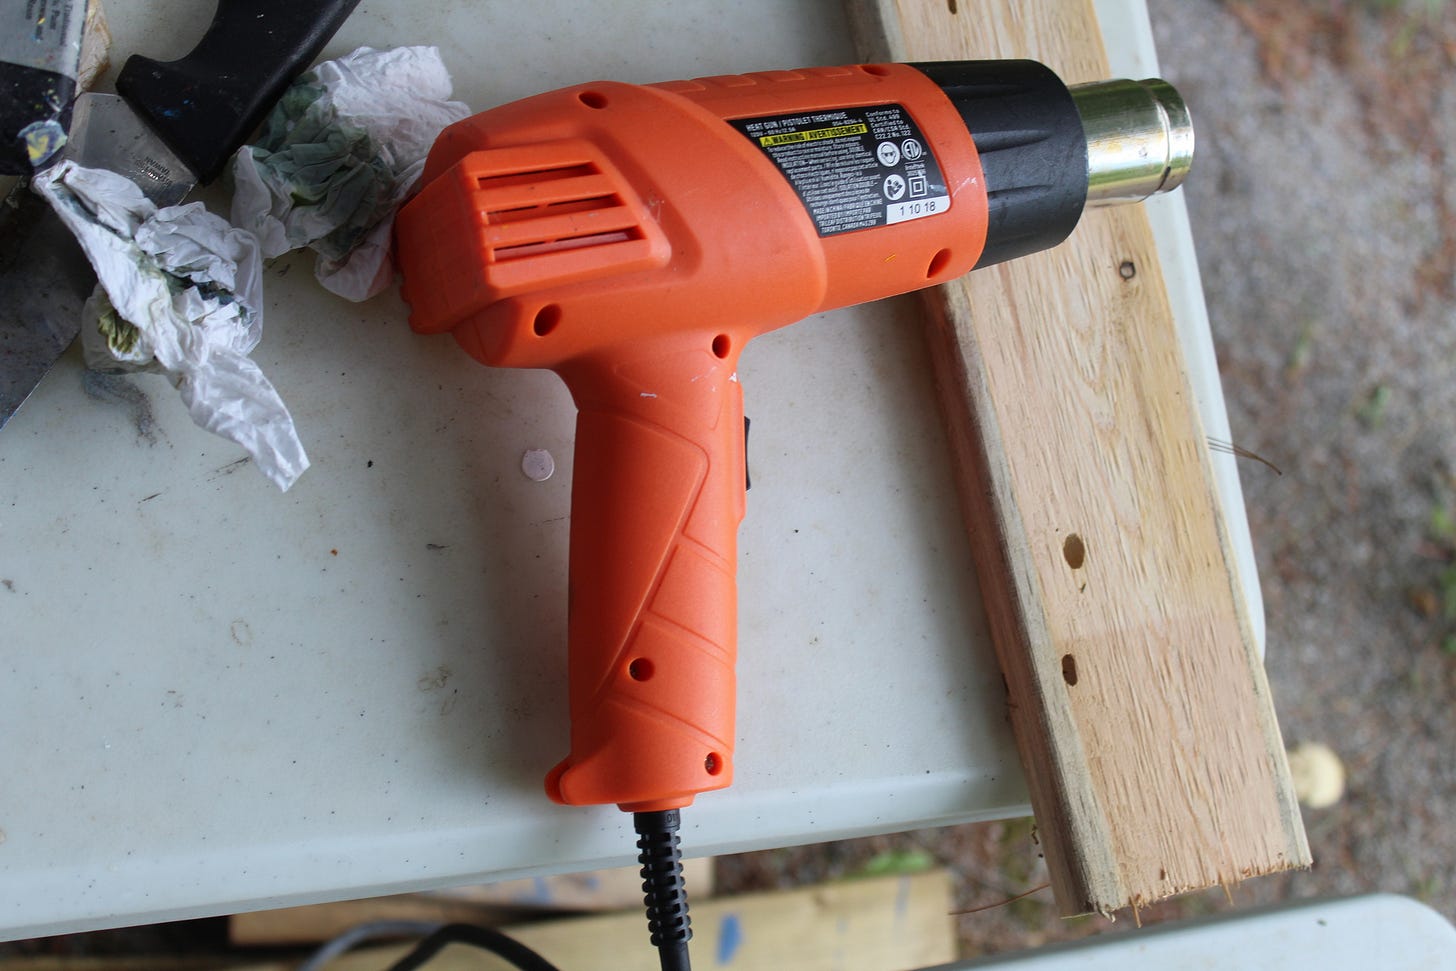
Above is the heat gun I use. Any brand will do, but get one that has at least 2 speeds, because it’s really helpful to have high heat and low heat. Sometimes you will want to apply gentler heat while you’re bonding or fusing a new layer of wax, so that it doesn’t flow away on you.
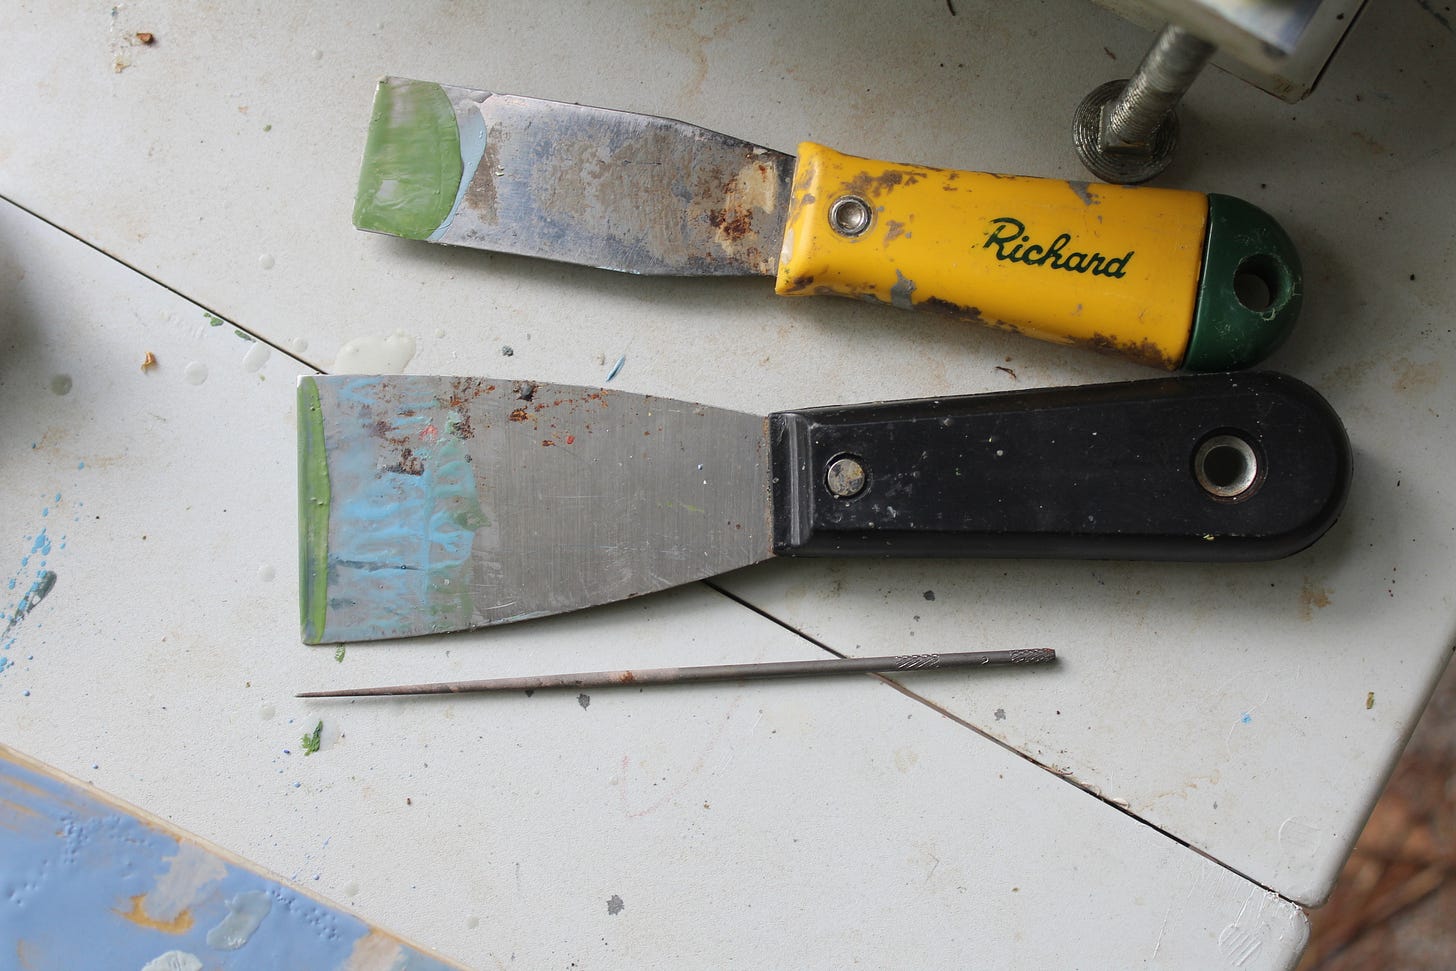
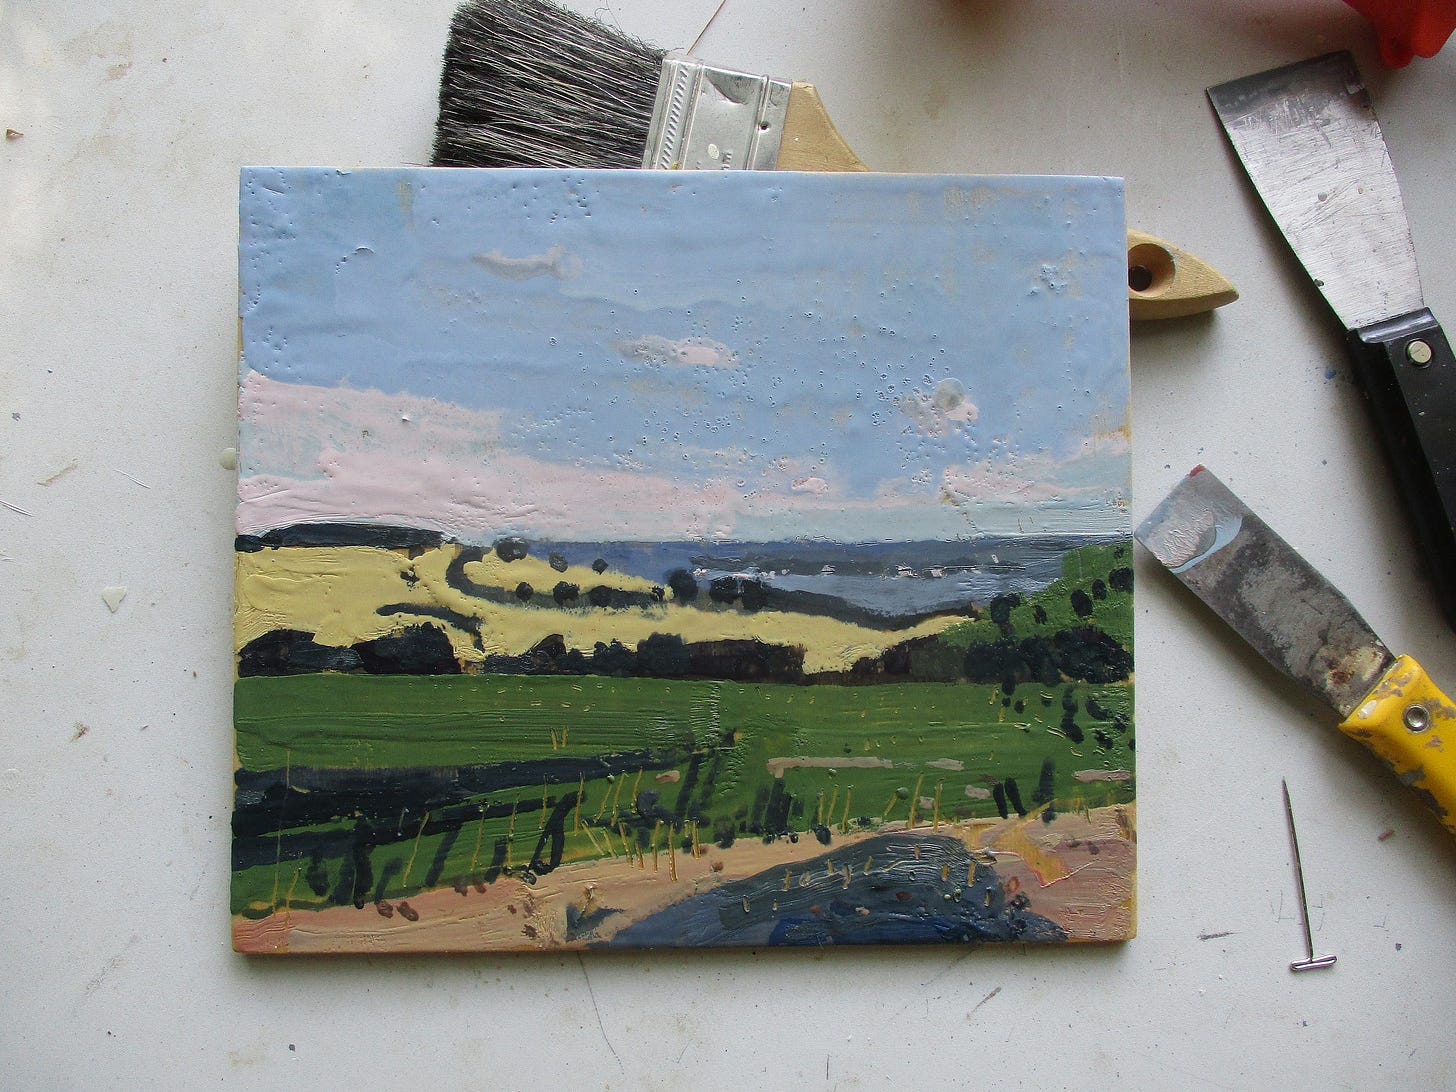
Above are a few scrapers I use to scrape the melted wax on my palette into more organized puddles, or to scrape off material from my wooden panel if I mess up. I use the metal needle to scribe through wax as a drawing effect. Any sharp object will work for this…even a nail.
The thermometer is encased in metal to make it sturdy and survive the heat and mess. It always sits on the hot palette. You can safely do this indoors if you keep below 210 degrees F. The wax paint will smoke if you go over that temperature…and those fumes are hazardous!
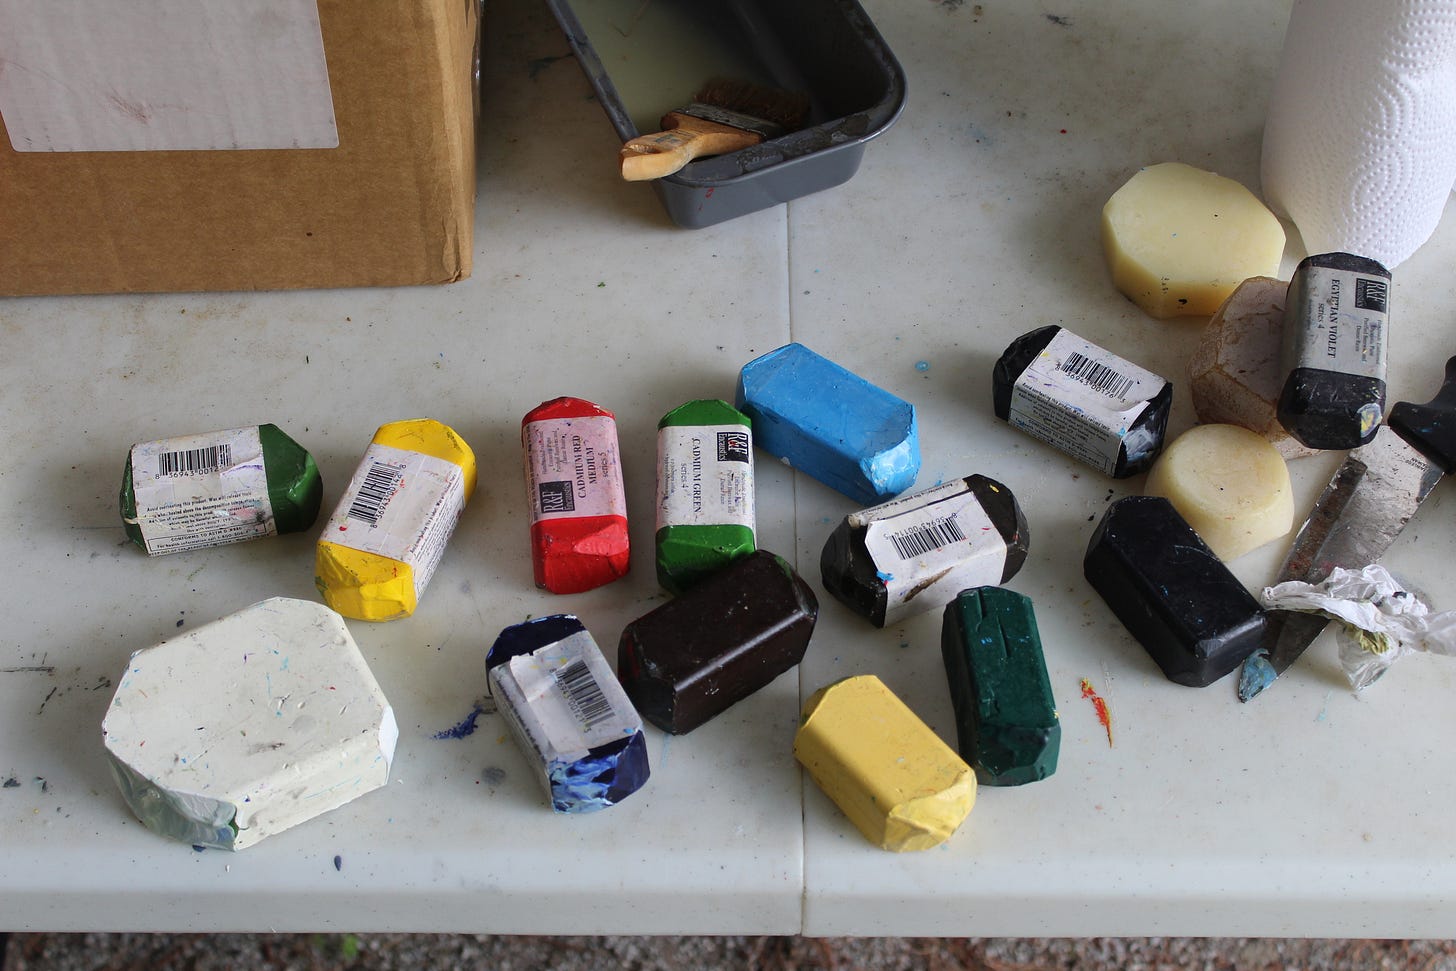
Above is a selection of the encaustic R & F colors I use. These colors are available in many places and they are a great company. The paints cover well, and they last a long time. They are loaded with pigment and you can mix down with medium a lot…so these colors have already lasted me a long time, and look how little of them I’ve used!
The blondish clear material is encaustic medium. You can make it yourself (I’ll give the formula), or you can buy it ready-made. I chip portions of medium away with a heavy knife, and put it in the metal container shown, melt it with a heat gun and use it to mix with my paints, and to prime my encaustic panels.
Above are 8 x 8 inch, and 8 x 10 inch thin birch plywood panels that I use to paint on. With a larger brush, I apply molten medium to these surfaces before painting. The wooden panel should also be heated with the heat gun prior to applying the molten medium. I also heat gun the whole surface after the medium is applied, just to even out the layer of wax. I do these steps and prepare my panels in advance so I don’t have to do them when I’m ready to make a painting.
The 2 best surfaces for encaustic are wood panels, or paper laid onto wood panels. Neither of these surfaces should have any paint primer on them, other than encaustic medium.
The basic formula for encaustic medium is 10 parts beeswax to 1 part damar resin crystals. A lot of people like to make their own and it’s not difficult. You just need old electric fry pans or pots and a thermometer, with small foil pans to decant the prepared medium into. Again, NEVER go over 210 degrees F.
Keep in mind that there are a lot of ways to do encaustic. What I’m showing you here is merely how I do it, for small scale paintings.
This is what my setup looks like when I’m working. There’s a chair to sit in, but I mostly work standing up so that I can work quickly and reach brushes fast!
That about covers the materials I use, so now we should discuss procedure and method a bit.
First. I never clean my palette! And I very seldom clean my brushes. Rather, for my brushes, I just have some that are reserved for warms. This way, I prevent colors from getting muddy. The colors that exist on the palette are mixed with, used up, and mixed again. If I run out of room, I take the scrapers, or small squares of cut up matte board, and move the puddles a bit.
Now, about color mixing. These R & F colors are great! I start by rubbing for a second with a color block on the hot palette. That melts some color there. Next, I decide if I need to dull the color. If I do, I rub a bit of the complement or relative complement into the color, or I take a bit of such color already existing on the palette. If I need to lighten the color, I rub a bit of the white color block onto the hot palette. And I add some molten medium to the mix. Using a fair bit of medium also helps establish the lovely sheen in a finished painting. This is because the medium contains damar crystals, which also hardens the beeswax surface.
You’ll notice the brushes are always wet and hot. The moment I take the brush off the hot palette I have about 3 seconds to apply the paint to the panel.
The moment before I’m ready to paint I take my panel with medium already on it, and heat it on high heat with the heat gun, watching carefully to make sure that all the medium does not simply run off the board. Now I’m ready to paint.
After I apply some paint to the panel, I bond or fuse these layers of wax with the existing wax beneath, by applying low heat with the heat gun (you can see the wax melt and glisten a bit as you do this). I do this bonding or fusing step always after I apply a few new bits of paint to the work.
This bonding step is necessary so that all the wax is connected together, so that pieces can not disconnect and simply break off over time.
You’ll notice on the palette that there are a great variety of brush sizes. It’s important to have a way to enter very small data into the picture, even more so with encaustic because the initial tendency is to work quickly and fluidly with large areas.
I love painting fast and I love the quality of touch that paintings have, with mark making always being important. Encaustic is great for asserting these qualities. For me, shape and color relationships are emphasized, and encaustic is ideal for this.
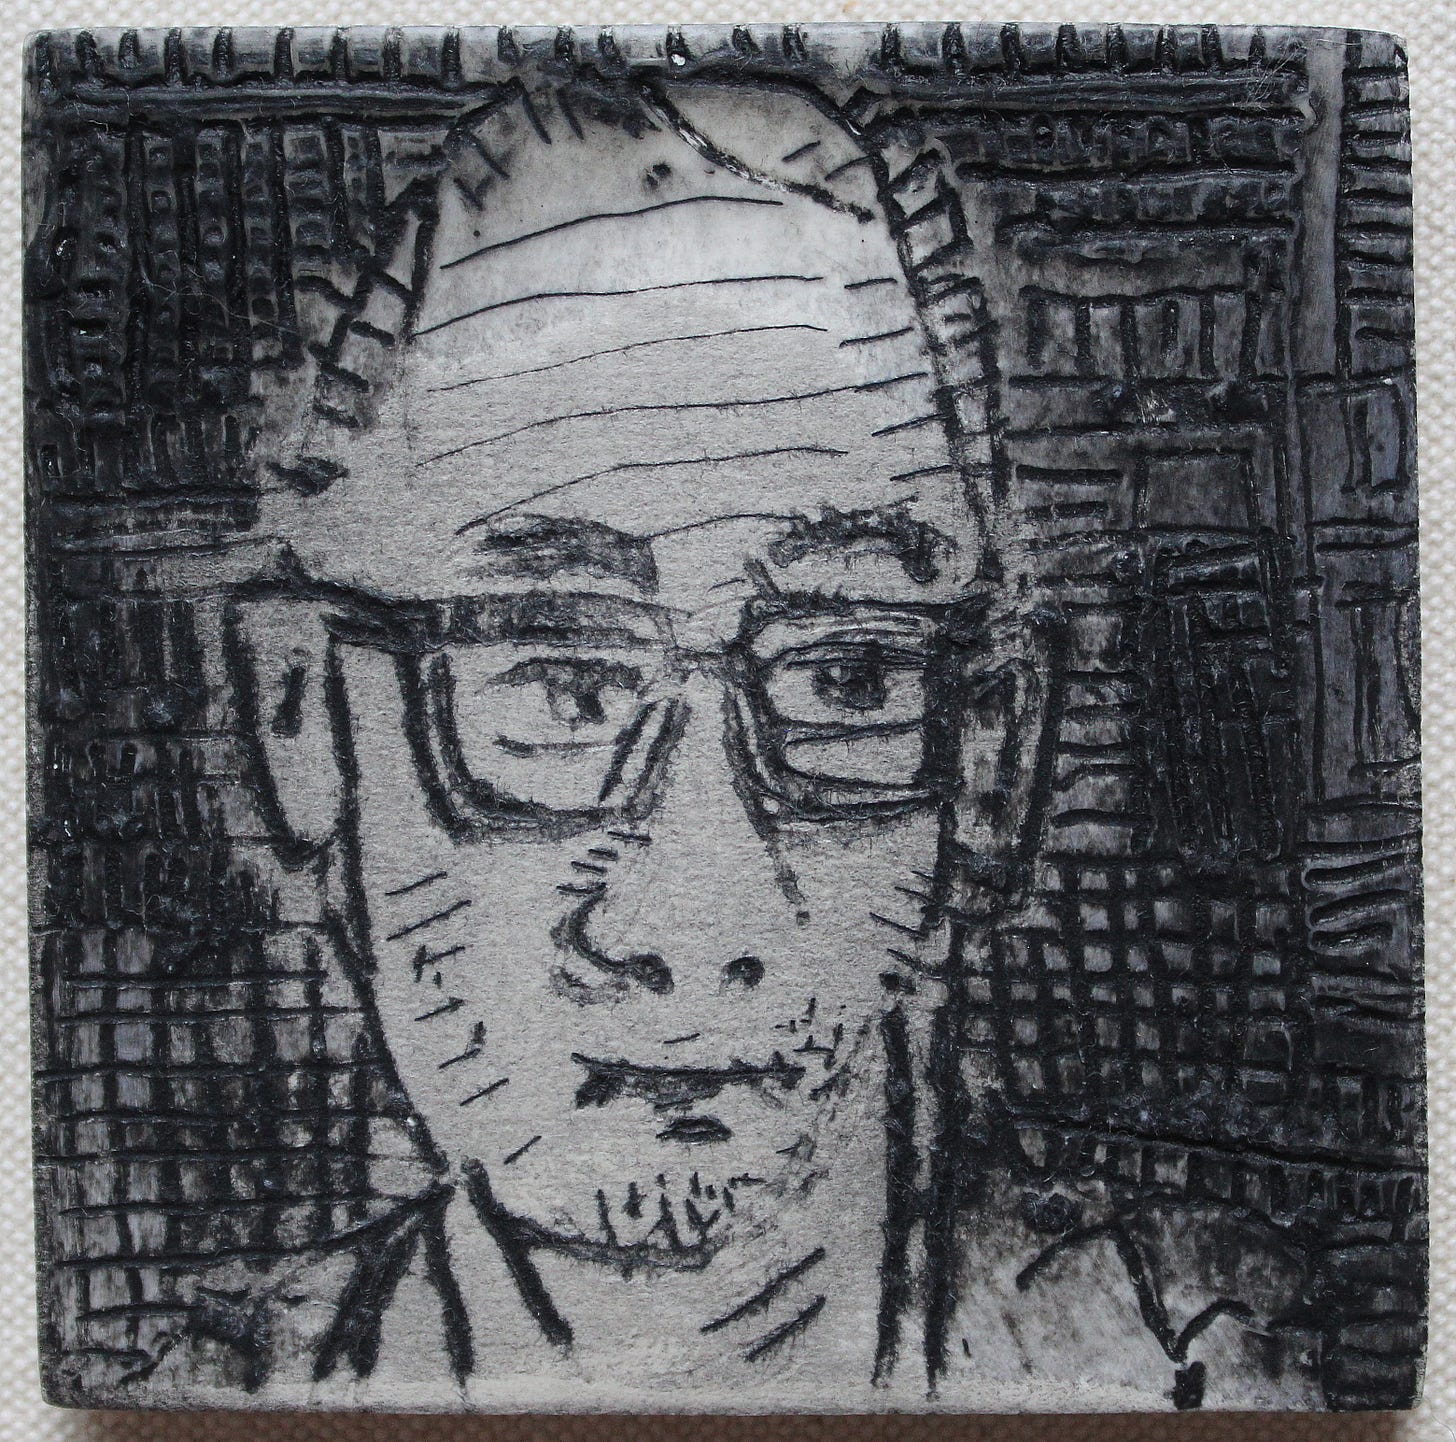
There are many kinds of experiments you can do with encaustic. Below are 2 of my small magnet panels. In both cases I covered the pieces with encaustic medium and carved in with a needle, and then rubbed black oil paint into the incised lines. With a bit of turpentine on a tissue I cleaned the surface of the panel by rubbing away the excess paint. So, you can get clear, sharp lines with encaustic, and achieve an effect akin to drypoint etching.
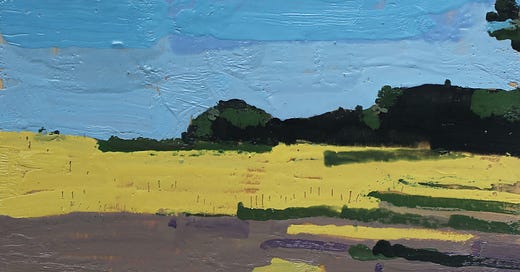
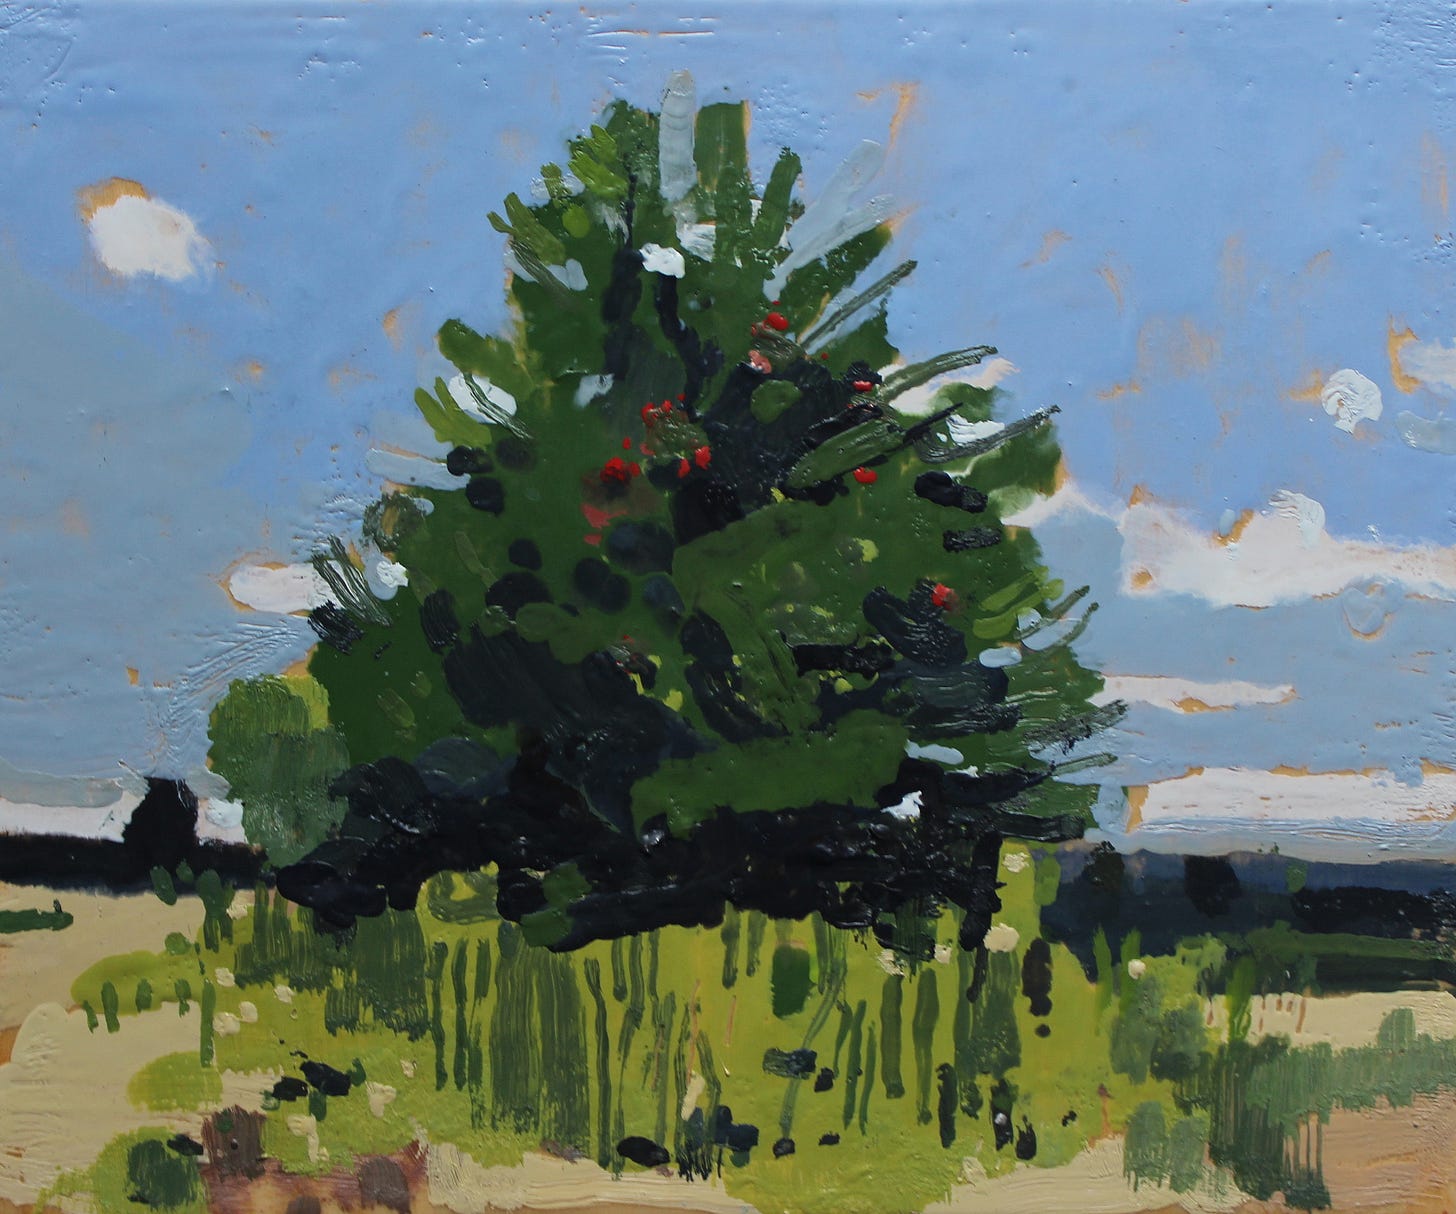
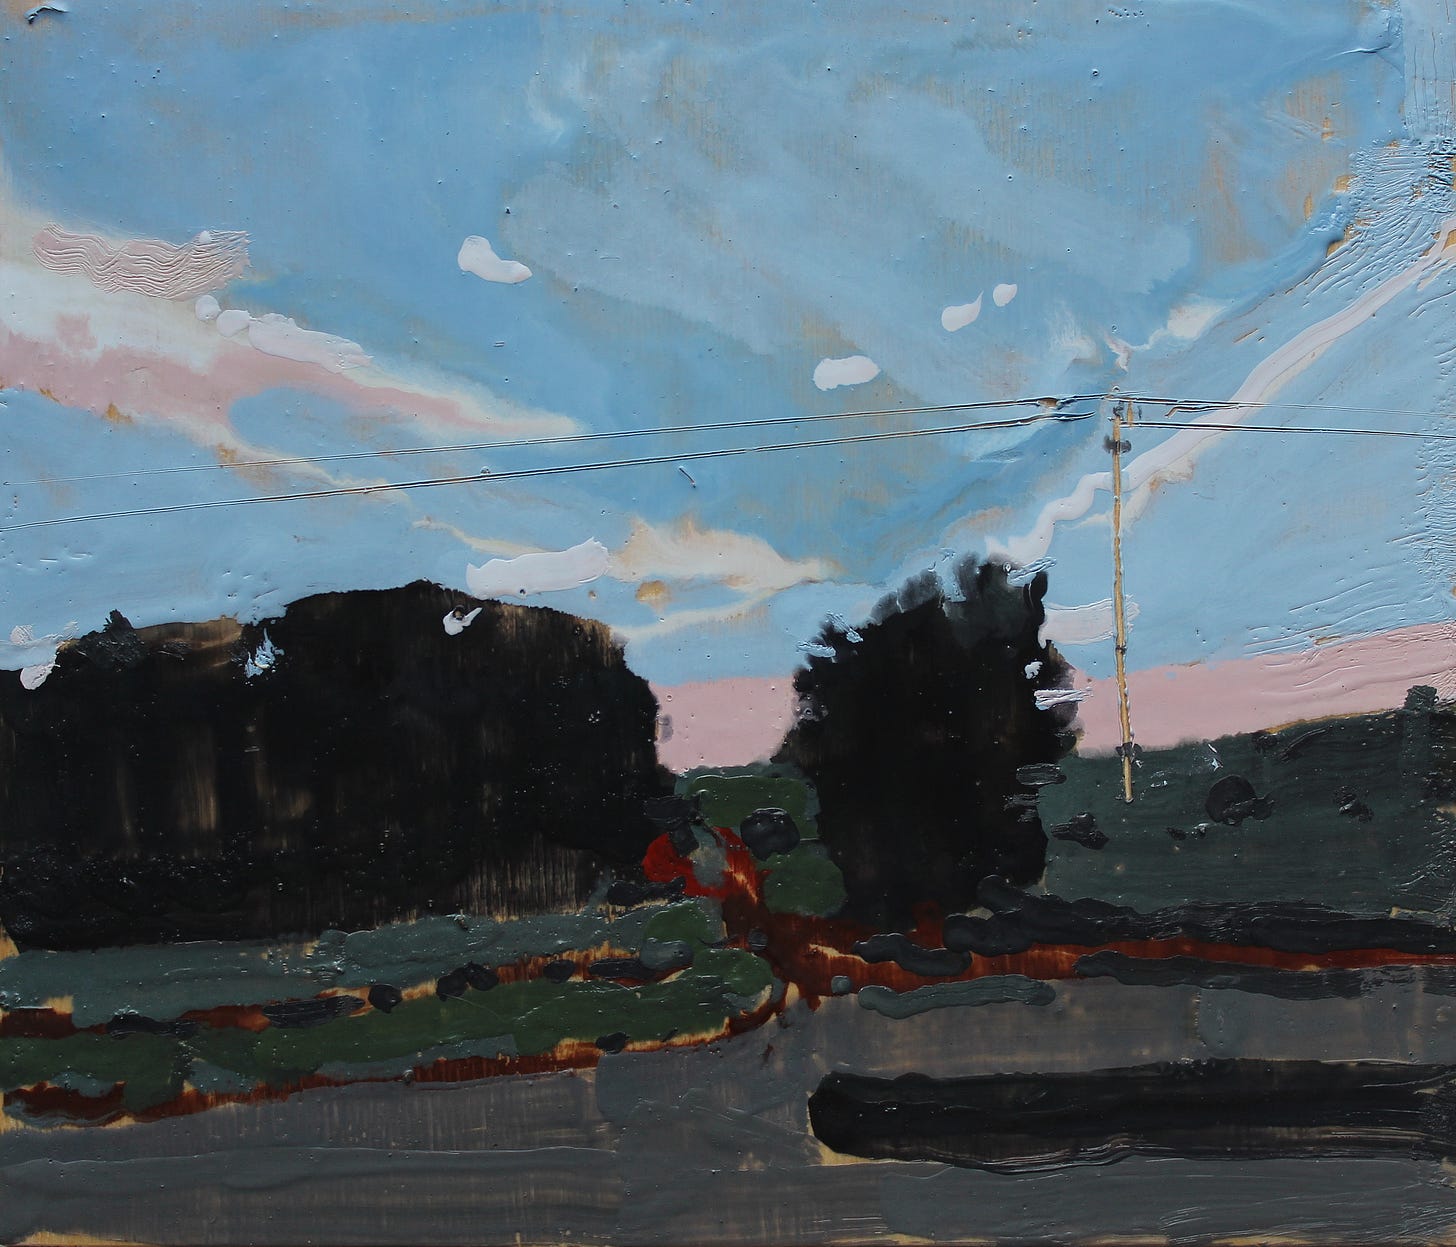
A few finished pieces:
As always you can find my work at my 2 sites:









So beautiful! 🤩 So inspirational! I’m gonna try it! Not sure how it’s going to go as I’ll obviously need to purchase a few items and work on sketching and technique. It *might* be possible. Thank you for sharing, Harry. Good day to you.
I love the set up and the paintings are gorgeous. The tree with the spots of red is my favorite.