Making Precious Objects....Building Floater Frames for Small Paintings
....something that you can treasure, and always keep with you, as you run for cover!
I’ve made many kinds of art over the decades, of various sizes, but I’ve also always made small things that are self-framed and meant to be presented and preserved that way. Making small things seems to fit with an EMERGENCY STATE OF MIND..….the feeling that all security and known comforts can disappear at a moment’s notice, and you are left wandering down the road with only a few valued possessions gathered at the last moment. Children who experience trauma sometimes come to know that after loss, comfort can be found in small safe places, and small favorite objects.
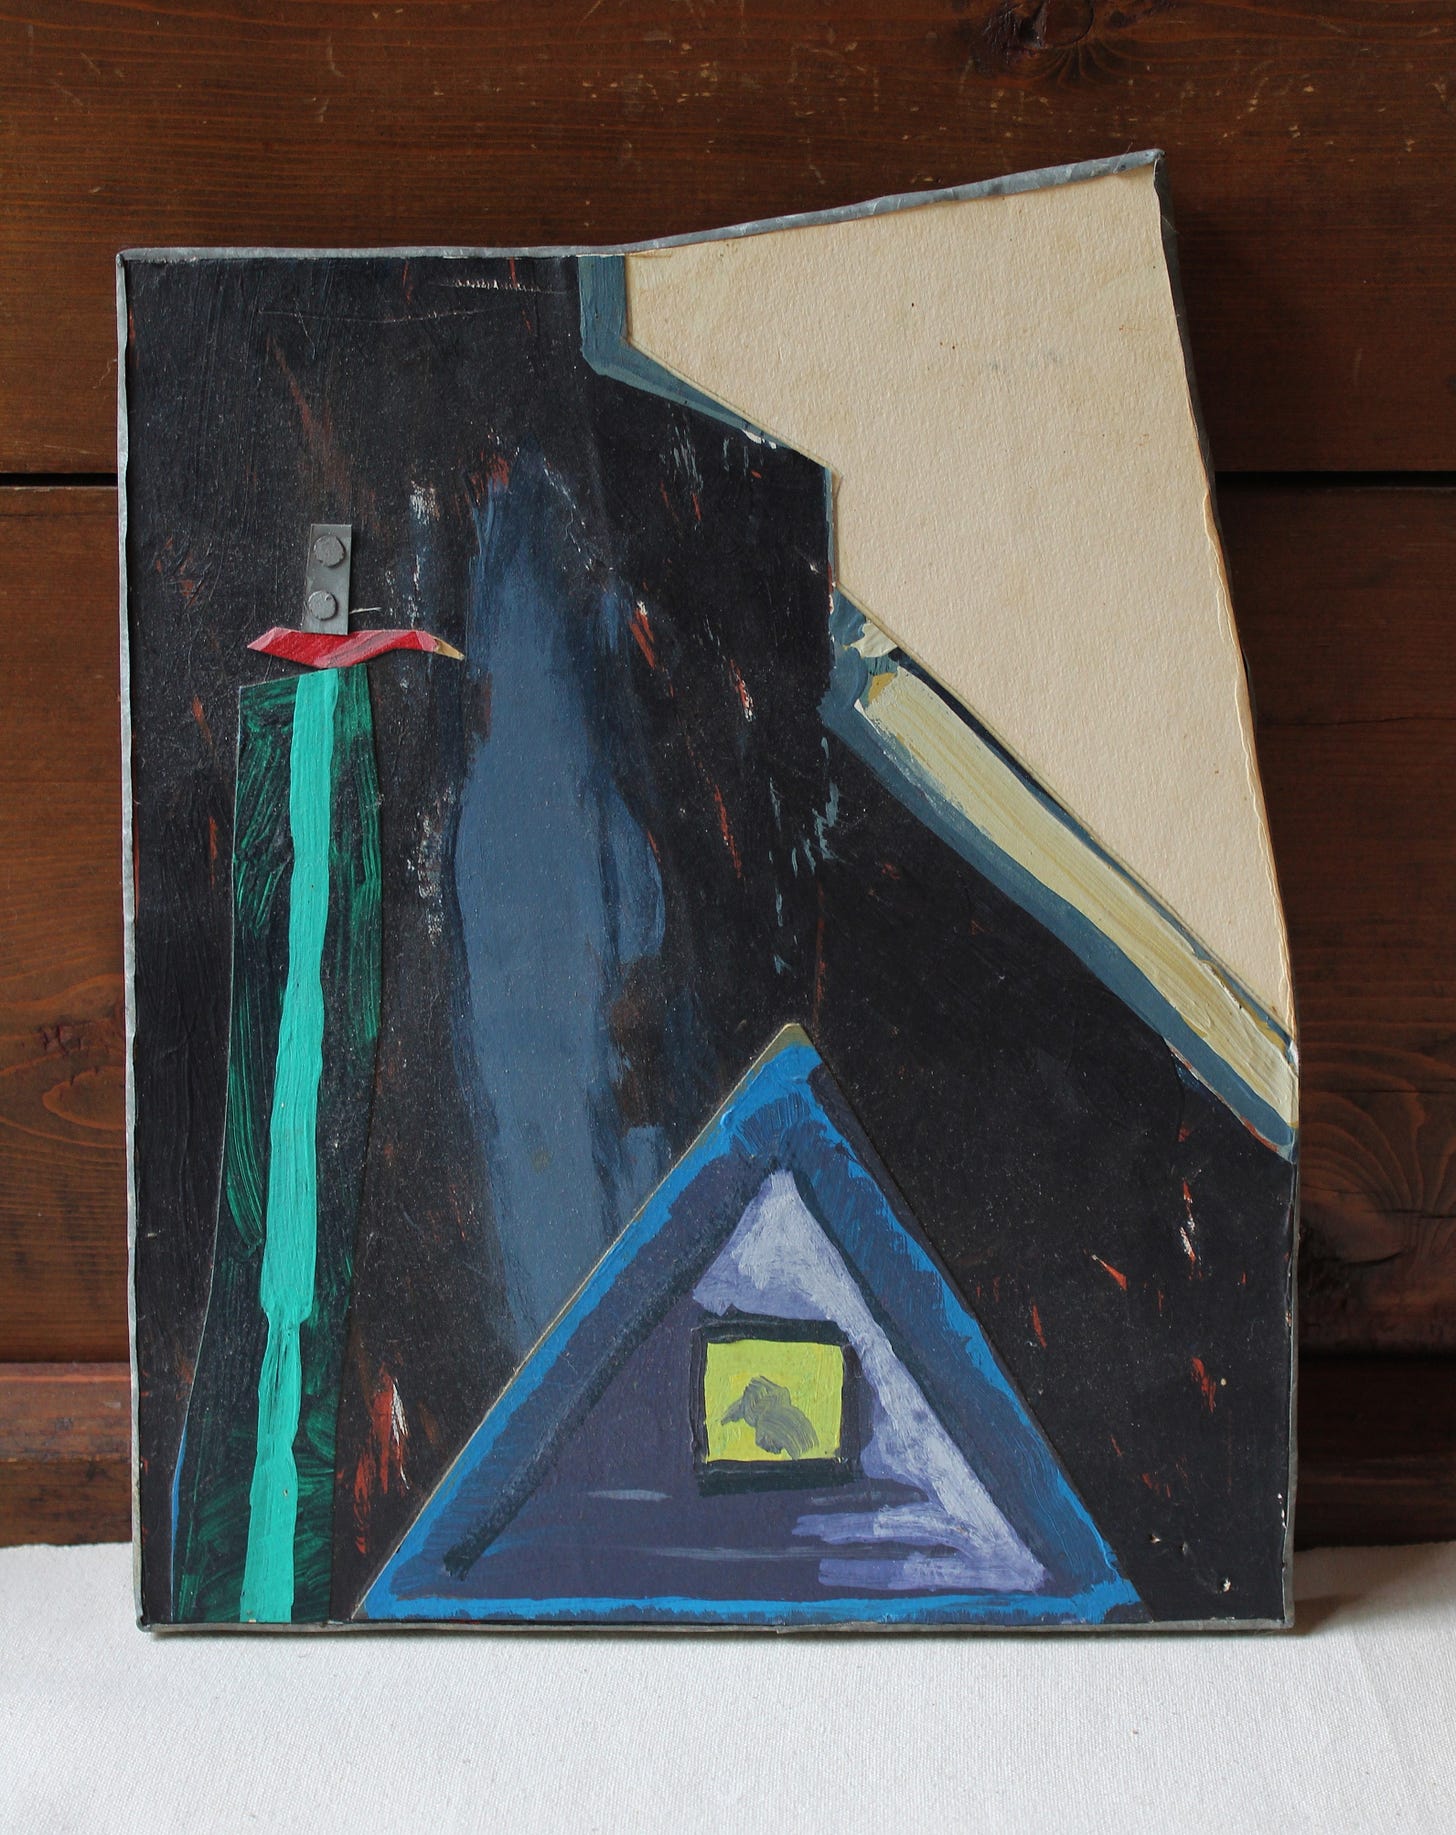
Above: An early piece, early 1990s, collage on wood, about 9” x 12”, framed primitively with nailed sheet metal.
There was a time when as artists many of us were encouraged to paint big, so that we were more likely to be included in corporate collections, and gallery shows. These days corporations are no longer viewed as the relatively benign organizations we once thought they were (or at least we gave them more benefit of doubt), and our association with them does not seem like such a feather in our cap. And large paintings in corporate collections are just as likely to be warehoused as shown, once the decorators have their way. And galleries?……..as a young man, I experienced my share of business with them, but I no longer need or want them, for sales, or acclaim.
Many current social factors in the western world come with an attendant restlessness that encourages the making of small rather than larger artworks.
We are experiencing a loss of the middle class, and the degree of national and household debt is staggering in Canada, the USA, and many other countries. One wonders how long the current social order can exist with such a precarious situation for so much of the population. Inflation keeps growing and a great many are very close to insolvency. Rental housing supply is low, causing rates to jump quickly leaving those who do not own, terrified about the future. Those who DO own homes, but who still hold mortgages, worry about unmanageable rate increases as well. Some economists warn that a looming global depression, and collapse of currency (or worse) is not too far off.
Social instability is very high. There is rampant gun violence in both the USA and Canada. Toronto used to feel like a safe city, but recently random attacks upon strangers on city streets and public transit, speaks to a level of social unraveling not evident before. Homelessness keeps growing, and many with mental problems are not given assistance or support in any meaningful way. When frustration and desperation boil over, violence is often the outcome.
Each year the results of climate change come closer and threaten even those who felt safe earlier. Here, for example, we are surrounded by forest, and the recent wildfires causing unprecedented damage in many parts of Canada show just how susceptible we are to catastrophe, especially in hot, dry weather. Heavily polluted air from wildfires kills many and potentially shortens the life span of all who breath it for prolonged periods. Those who live in lower areas worry just as much about the extreme damage caused by floods. Tornadoes and extreme wind events can terrorize everybody on high and low ground alike.
The inability of political opponents to talk reasonably, without adopting hate stances is par for the course now, and the extreme positions of radical left and right allow for no compromise with the other, no finding of workable middle ground. Those who benefit from spreading misinformation are now often as sophisticated in mass media techniques as respected reporters were in earlier times. We now need fact checkers to check the fact checkers! Further, the concept of truth itself is under attack. For many, truth is now something more subjective than objective. But if you still do believe in an objective truth, it becomes harder to know where to look for it. Purveyors of previously accepted truths in the medical and scientific fields now hold much less public trust.
The thought of 110 million refugees on the move throughout the world, often moving in the direction of social democracies whose own institutions are weakened and declining in credibility, increases the likelihood of further social instability.
Aggression by Russia , and less than friendly relations with the emerging economic giant, China, point to radical global shifts in all spheres, all of which will not benefit the social democracies of the west, particularly Canada and the USA.
The threat of AI development at a furious rate, without effective oversight and regulation, will further undermine the concept of truth, as well as expose us to a host of other dangers. It is a large and frightening issue on the global stage, a stage that is already full of problems that are not being dealt with effectively.
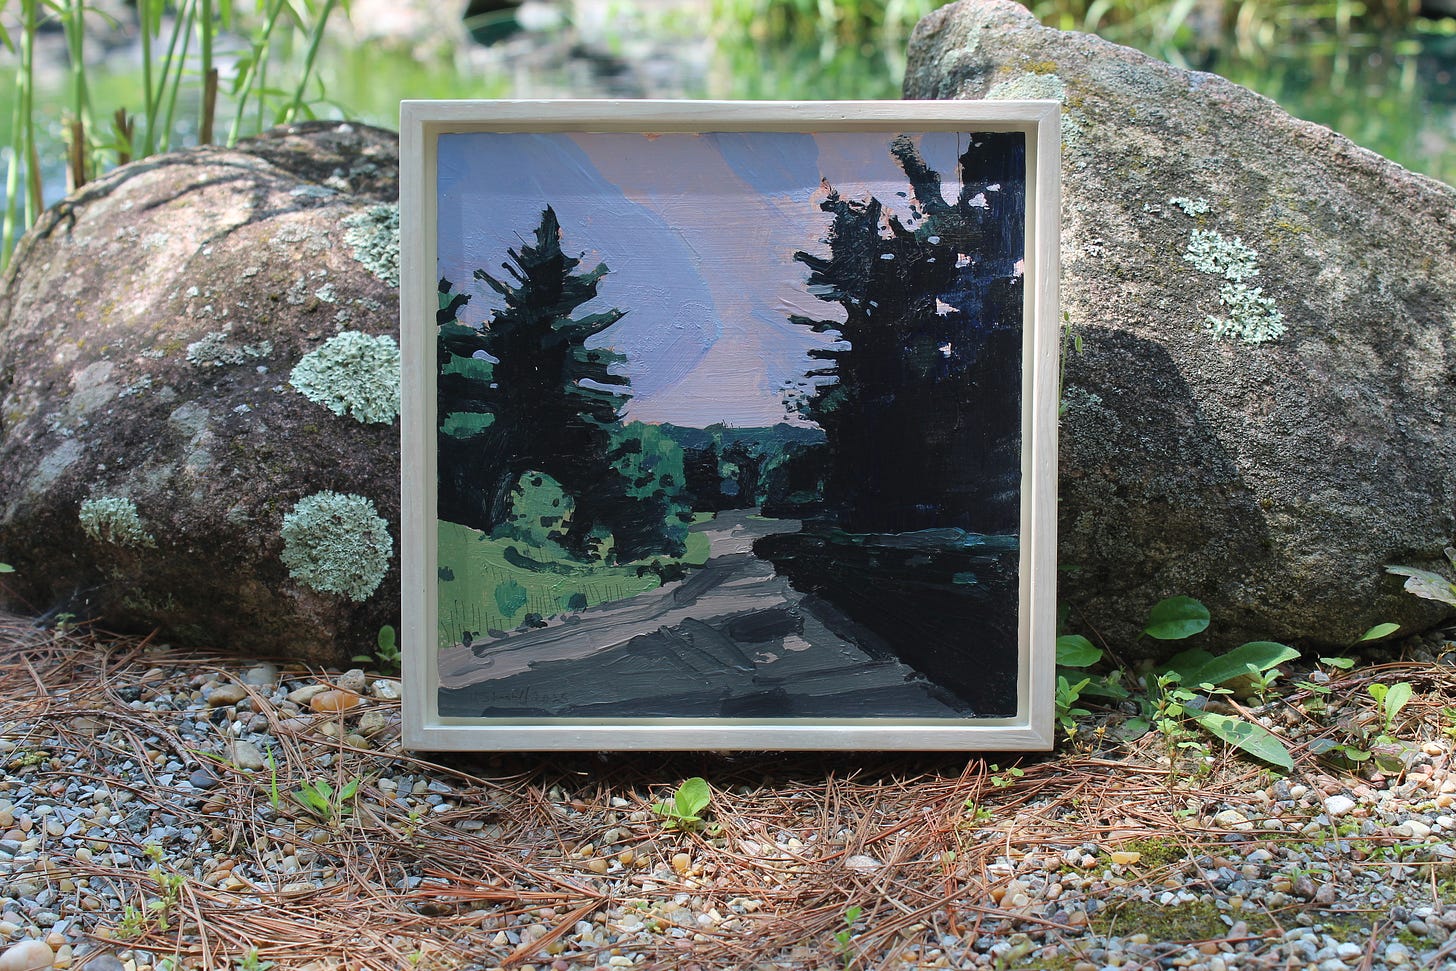
Perhaps all of this forms part of the reason why I want to make small paintings more precious and treasure-like by putting them in self-made frames, and fussing over the quality of the workmanship. The materials are humble, not precious, but the putting together makes everything shine.
We are heading to a less rich world, and the small framed paintings are something that a regular person can still have, treasure, and keep throughout, even in the harshest of circumstances.
Through the worst of times, through all tragedy, painting and drawing will never die because they are the simplest and most immediate way of expressing complex human thought and response. Even with the most perverse threats of an over-riding alien artificial intelligence, a person can still fashion a simple but effective response to any experience, provided that there are still humans remaining to communicate with.
In this post I’ll lay out as many steps as I can in photos, regarding the making of my float frames. I keep wanting to find more videos on You Tube about making these frames but nobody seems to make them quite the way I do. I keep checking You Tube every day to see if anyone has posted any more videos but no luck so far. A video would be better to show all the steps but I’ll do my best just with photos.
Here’s a useful video link from Chamberlainpaintings on making floater frames. I used a lot of this content: Floater Frames
He has more than one video on the subject so search him further if you find this useful.
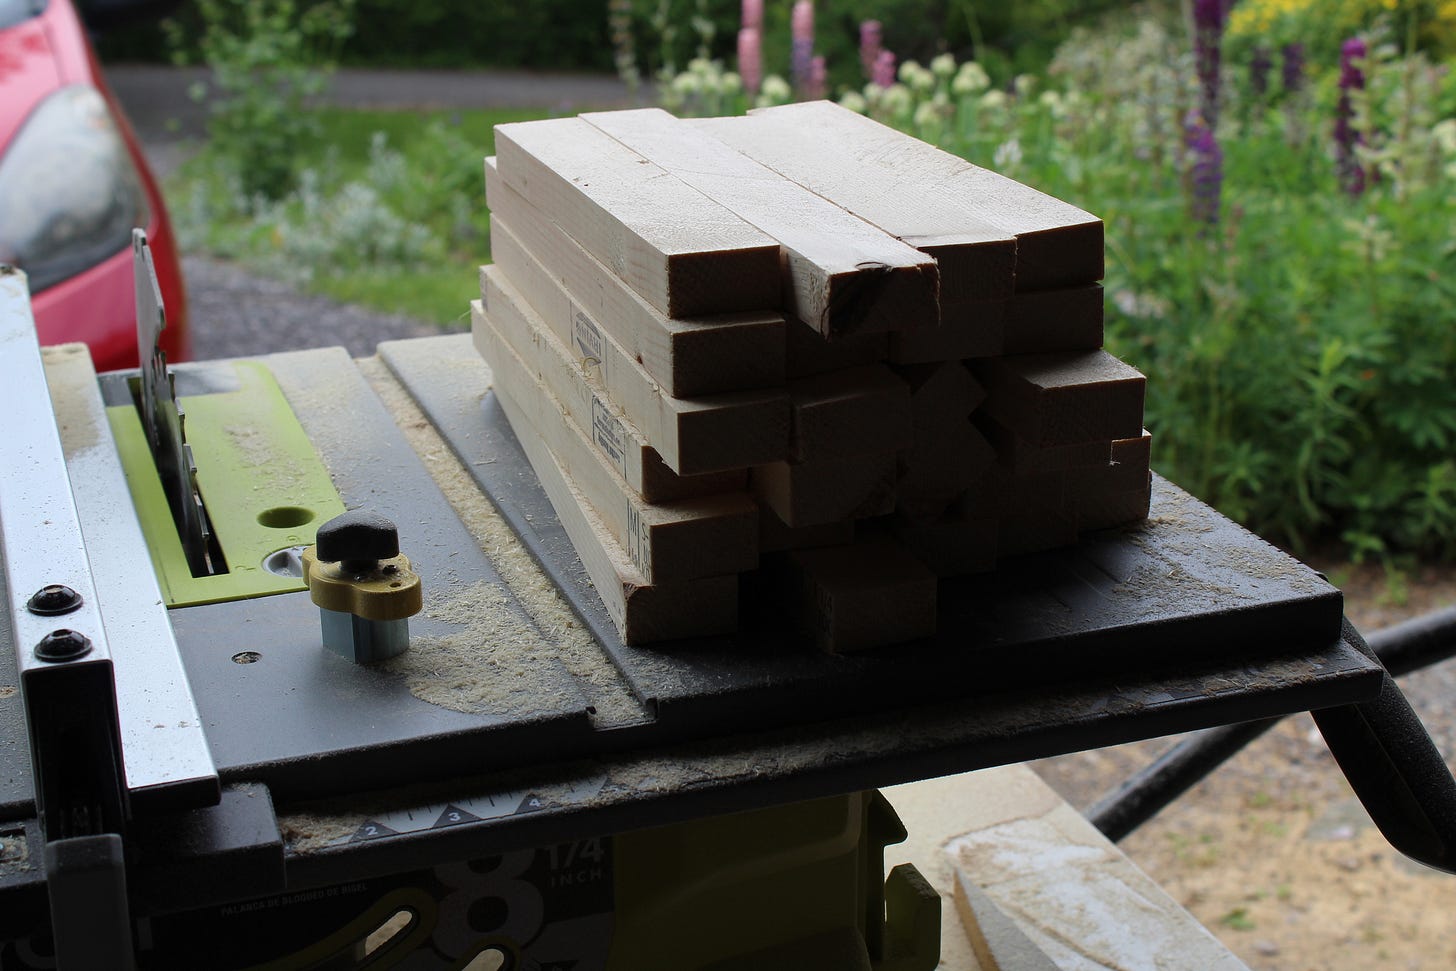
At the table saw cutting 1” x 2” strips out of 2” x 6” softwood lumber. Nothing fancy…just basic soft wood construction lumber from Home Depot. The table saw cost me about $150.00 Canadian and I’m very happy I bought it so that making frames is possible. If you haven’t used a table saw before, you do have to watch many You Tube videos or get other instruction to learn a few techniques and get some safety information clear in your mind. Table saws are dangerous so you need to operate them attentively and knowledgeably.
In the photo above you can see the blocks of 2” x 6”, cut to length, ready to mill into strips. When I go to the store, I carefully select the lumber for straightness and lack of knots (you can do that at Home Depot……they don’t mind at all…just put the rejected lumber you’ve looked through neatly back on its shelf. ) I mark the boards to the lengths I need, allowing for about 1” extra on each length for any cutting errors. I just make these first cuts with my hand saw and lightly sand the edges, ready for the table saw. My frames are small, so cutting these short lengths on the table saw is easy and quite safe.
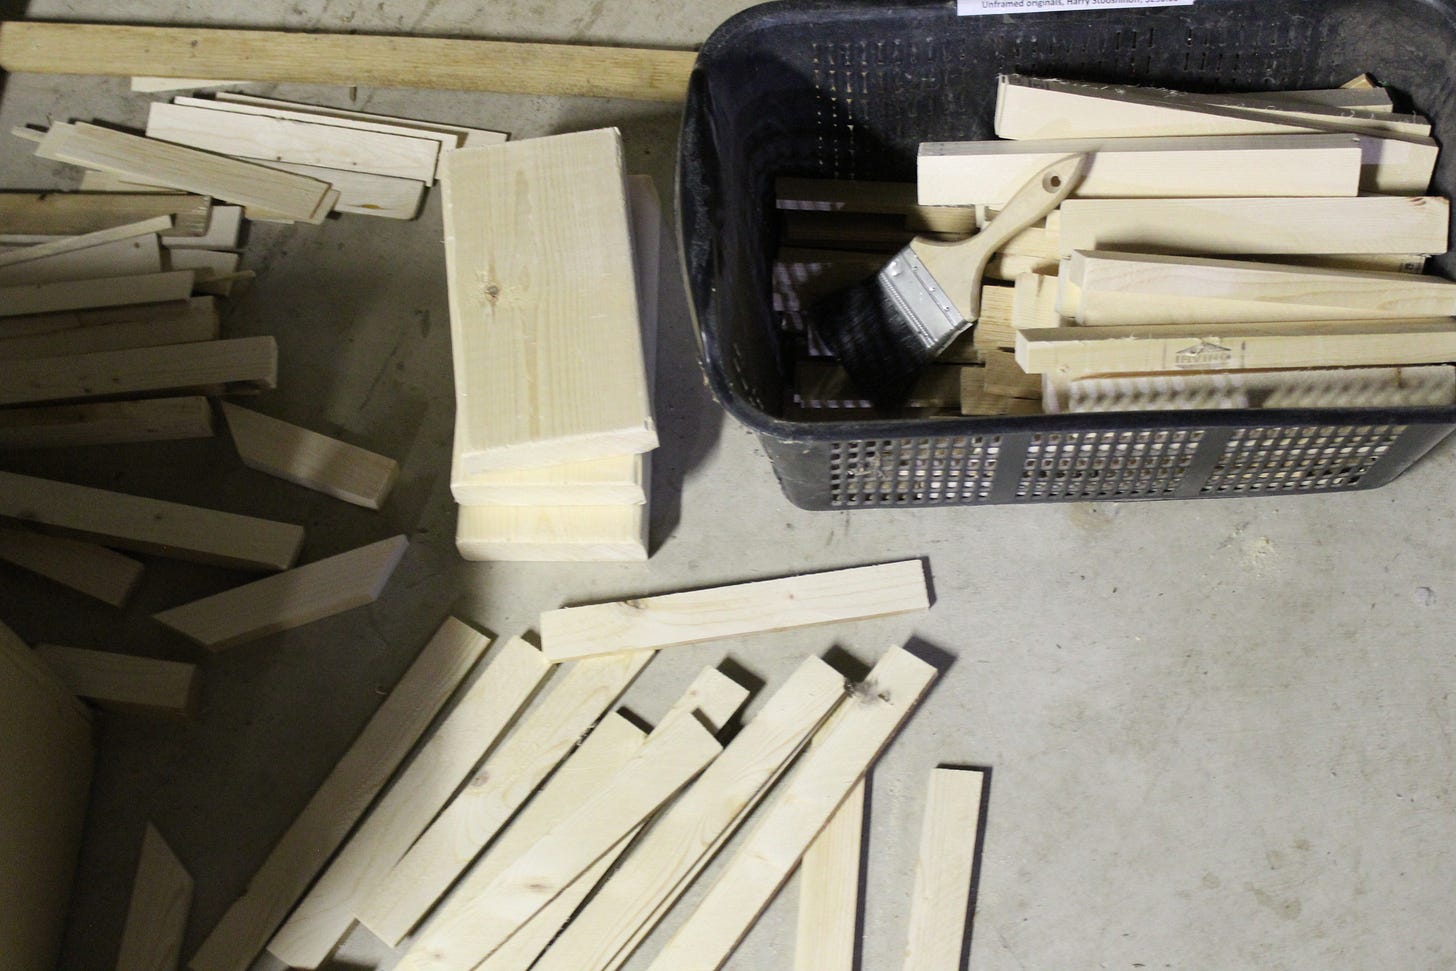
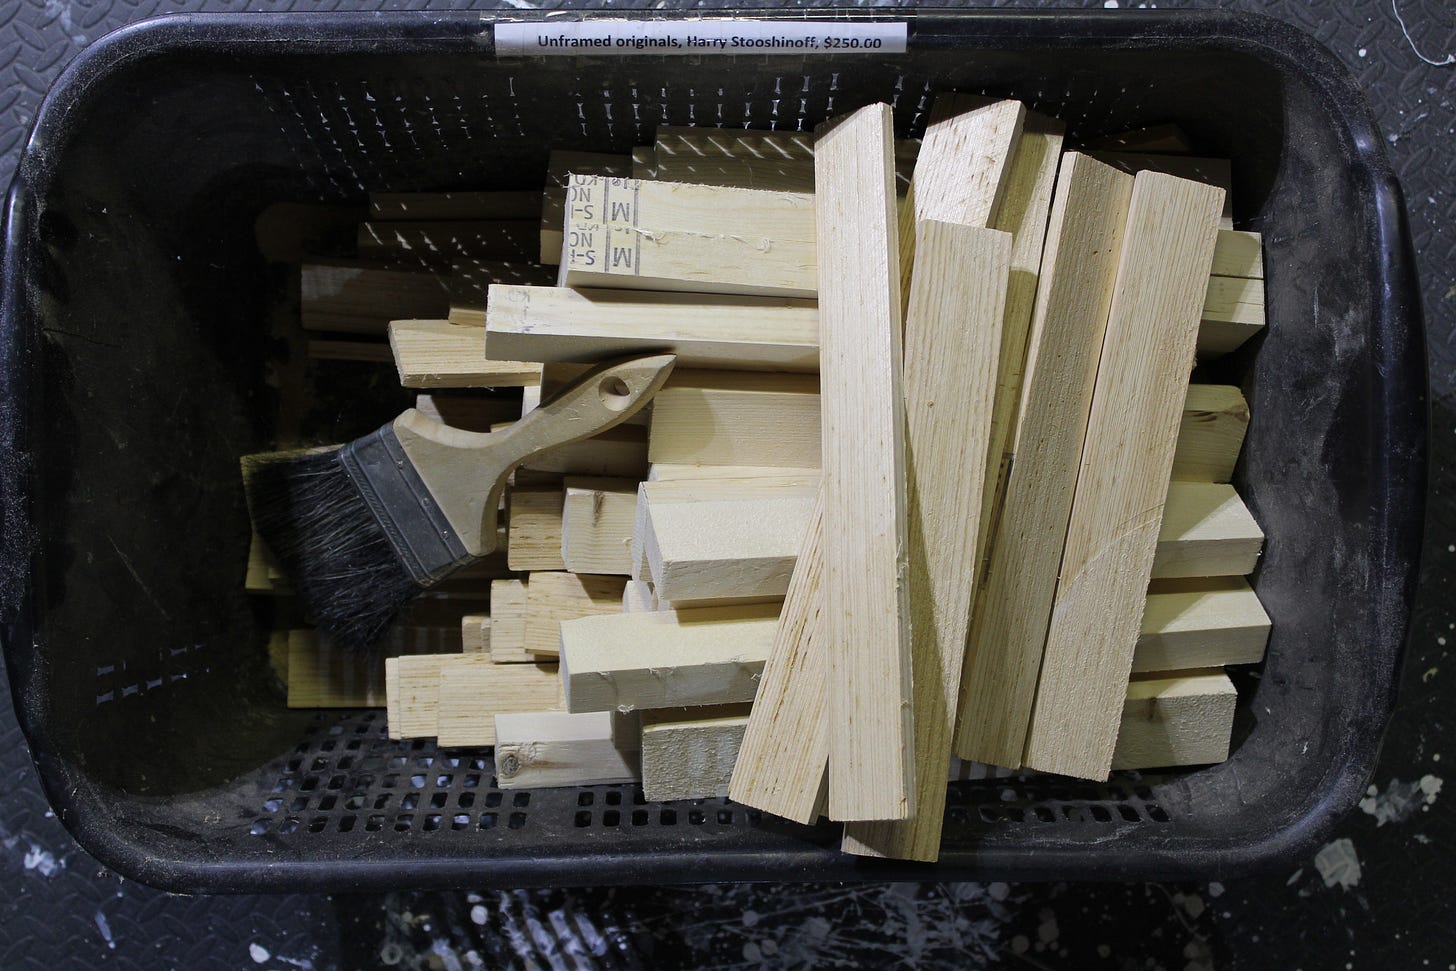
For the floater frames I’m making at the moment, I mill 2 kinds of wood. 1” x 2”s for the base or sub-frame upon which the painted masonite panels will be secured, and the side strips for the frame which are a quarter inch thick, and about 1.5 inches deep.
It’s super important to set up your miter saw with a fine tooth blade so that there is NO tear out on your miter cuts. A sacrificial fence (this can simply be a straight longish piece of hardwood clamped to the metal fence of the miter saw) is also a great aid for preventing tear out, and can also help you make your cuts with 100% accuracy. Opposite sides of your frame must be cut to the exact same length. There are little procedural tips to help master this saw work, and there are YouTube videos by woodworkers to help with all this. I won’t go into too much of that detail in this photo essay or it will go on too long. But it IS important to master a few basic building skills to get your construction relatively error free.
V NAILS…what a totally magical invention! Those are those little things by the glue bottle in the photo above. I apply wood glue to the 2 miters I’m joining, hold a small Try Square to the corner to ensure squareness, apply finger pressure to the 2 pieces while I hold them in place, and I simply tap in 2 V nails to hold each miter, and proceed to the next join. Once the sub-frame is all joined, I turn it over and apply the nails to the other side as well. 8 V nails are used per side, 16 V nails in total to construct one sub-frame.
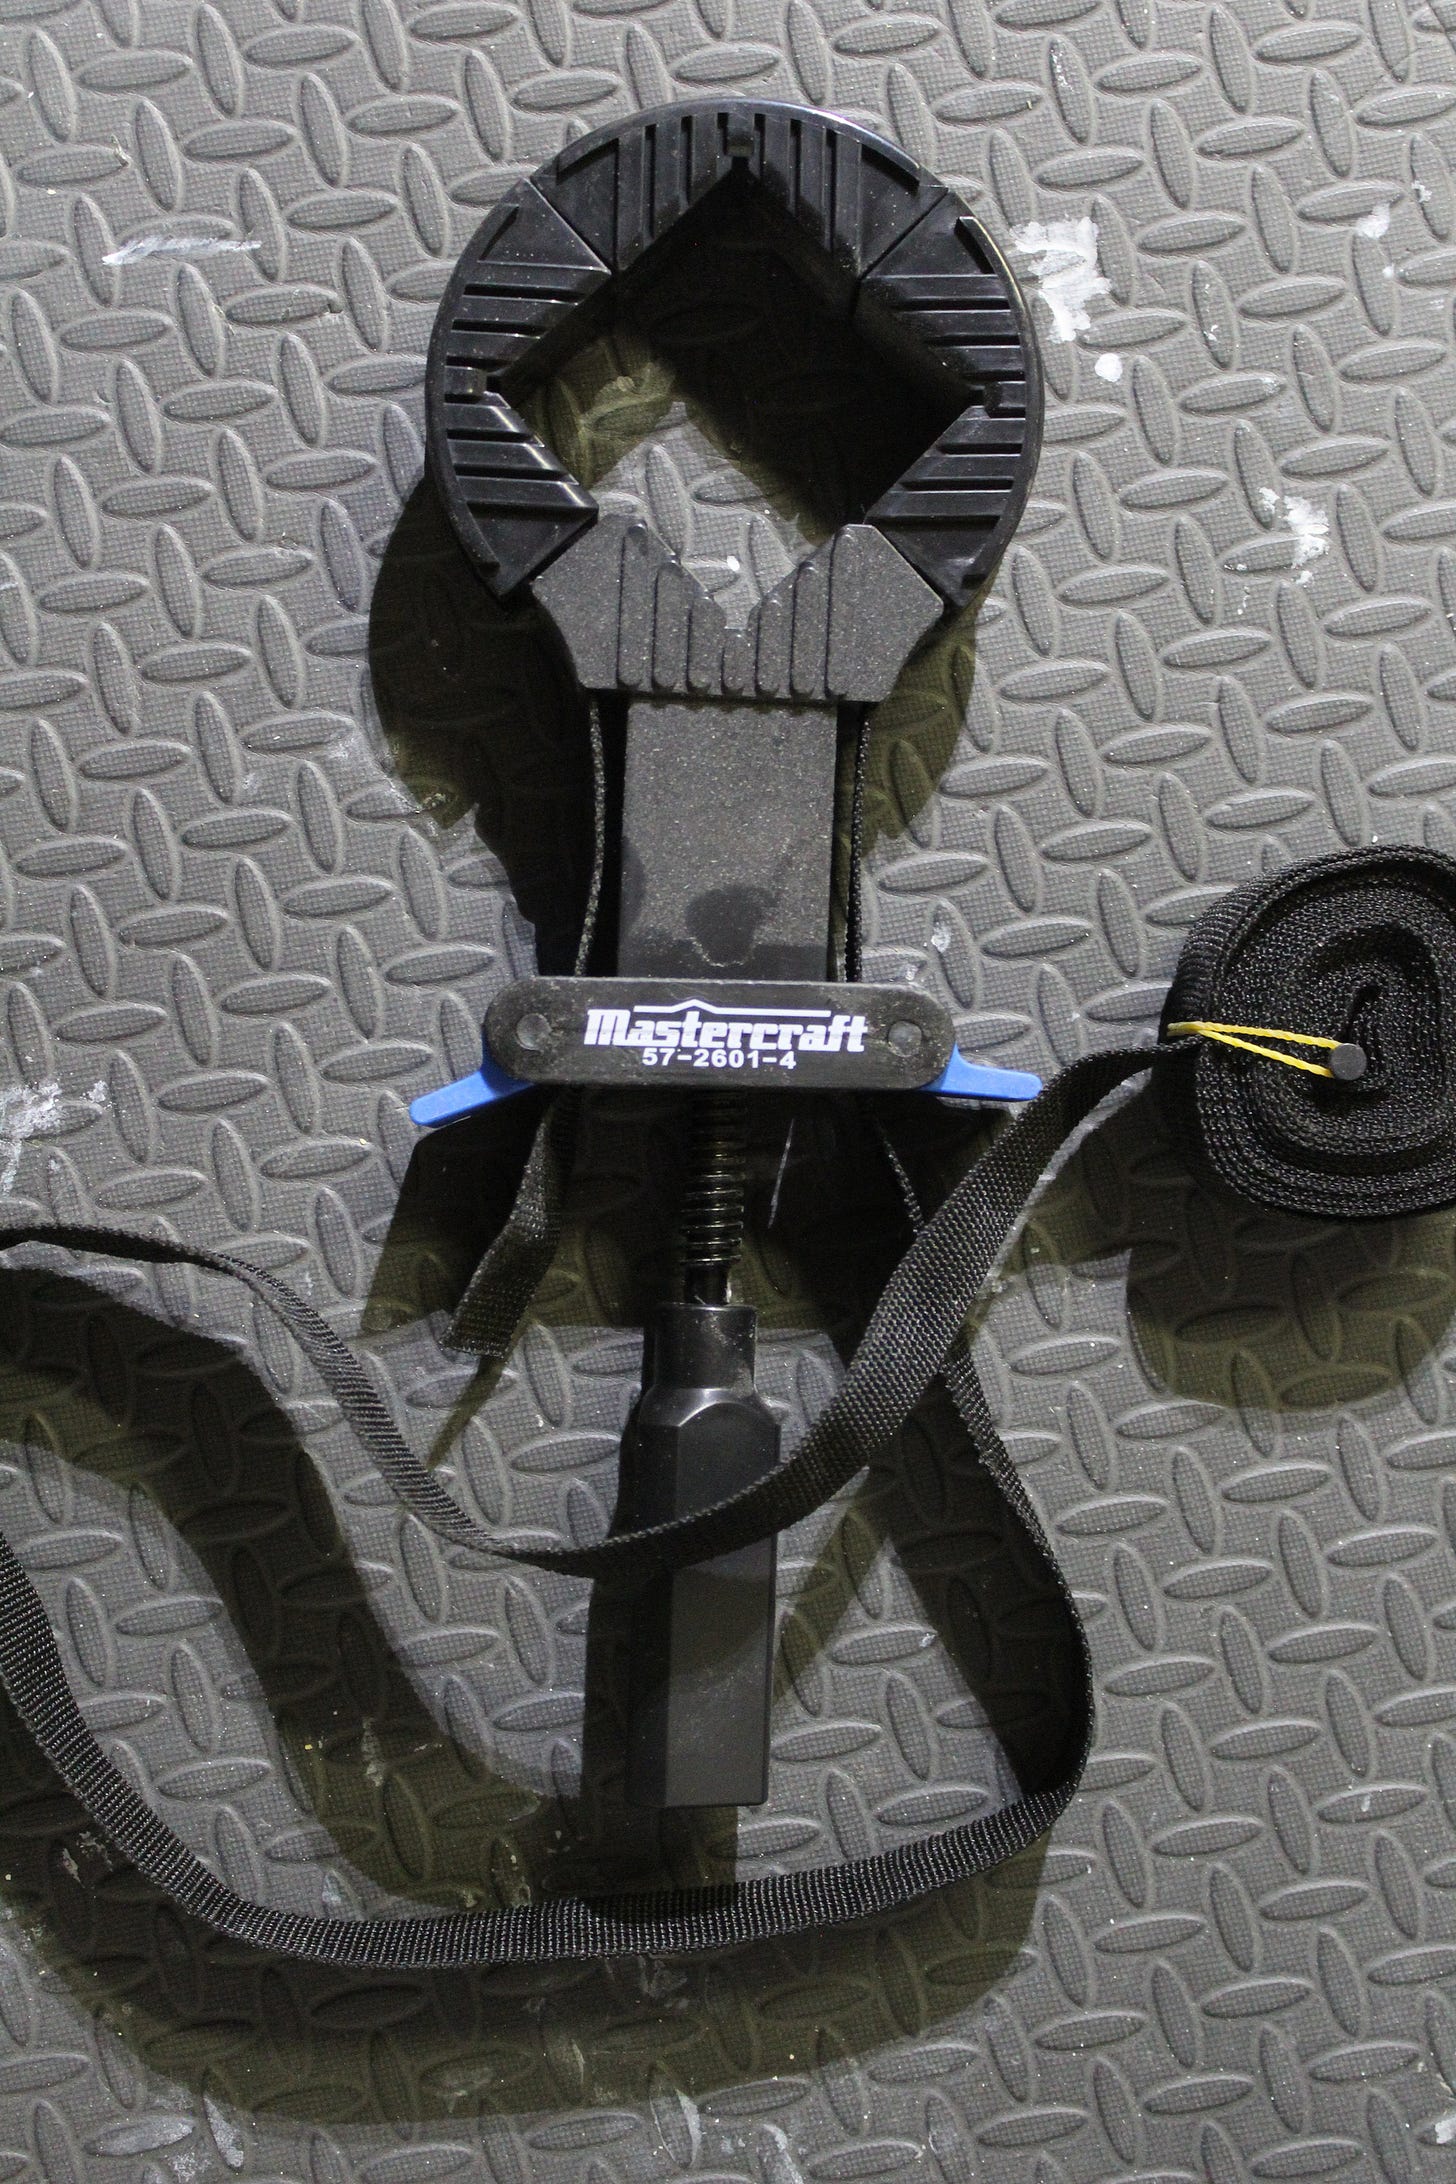
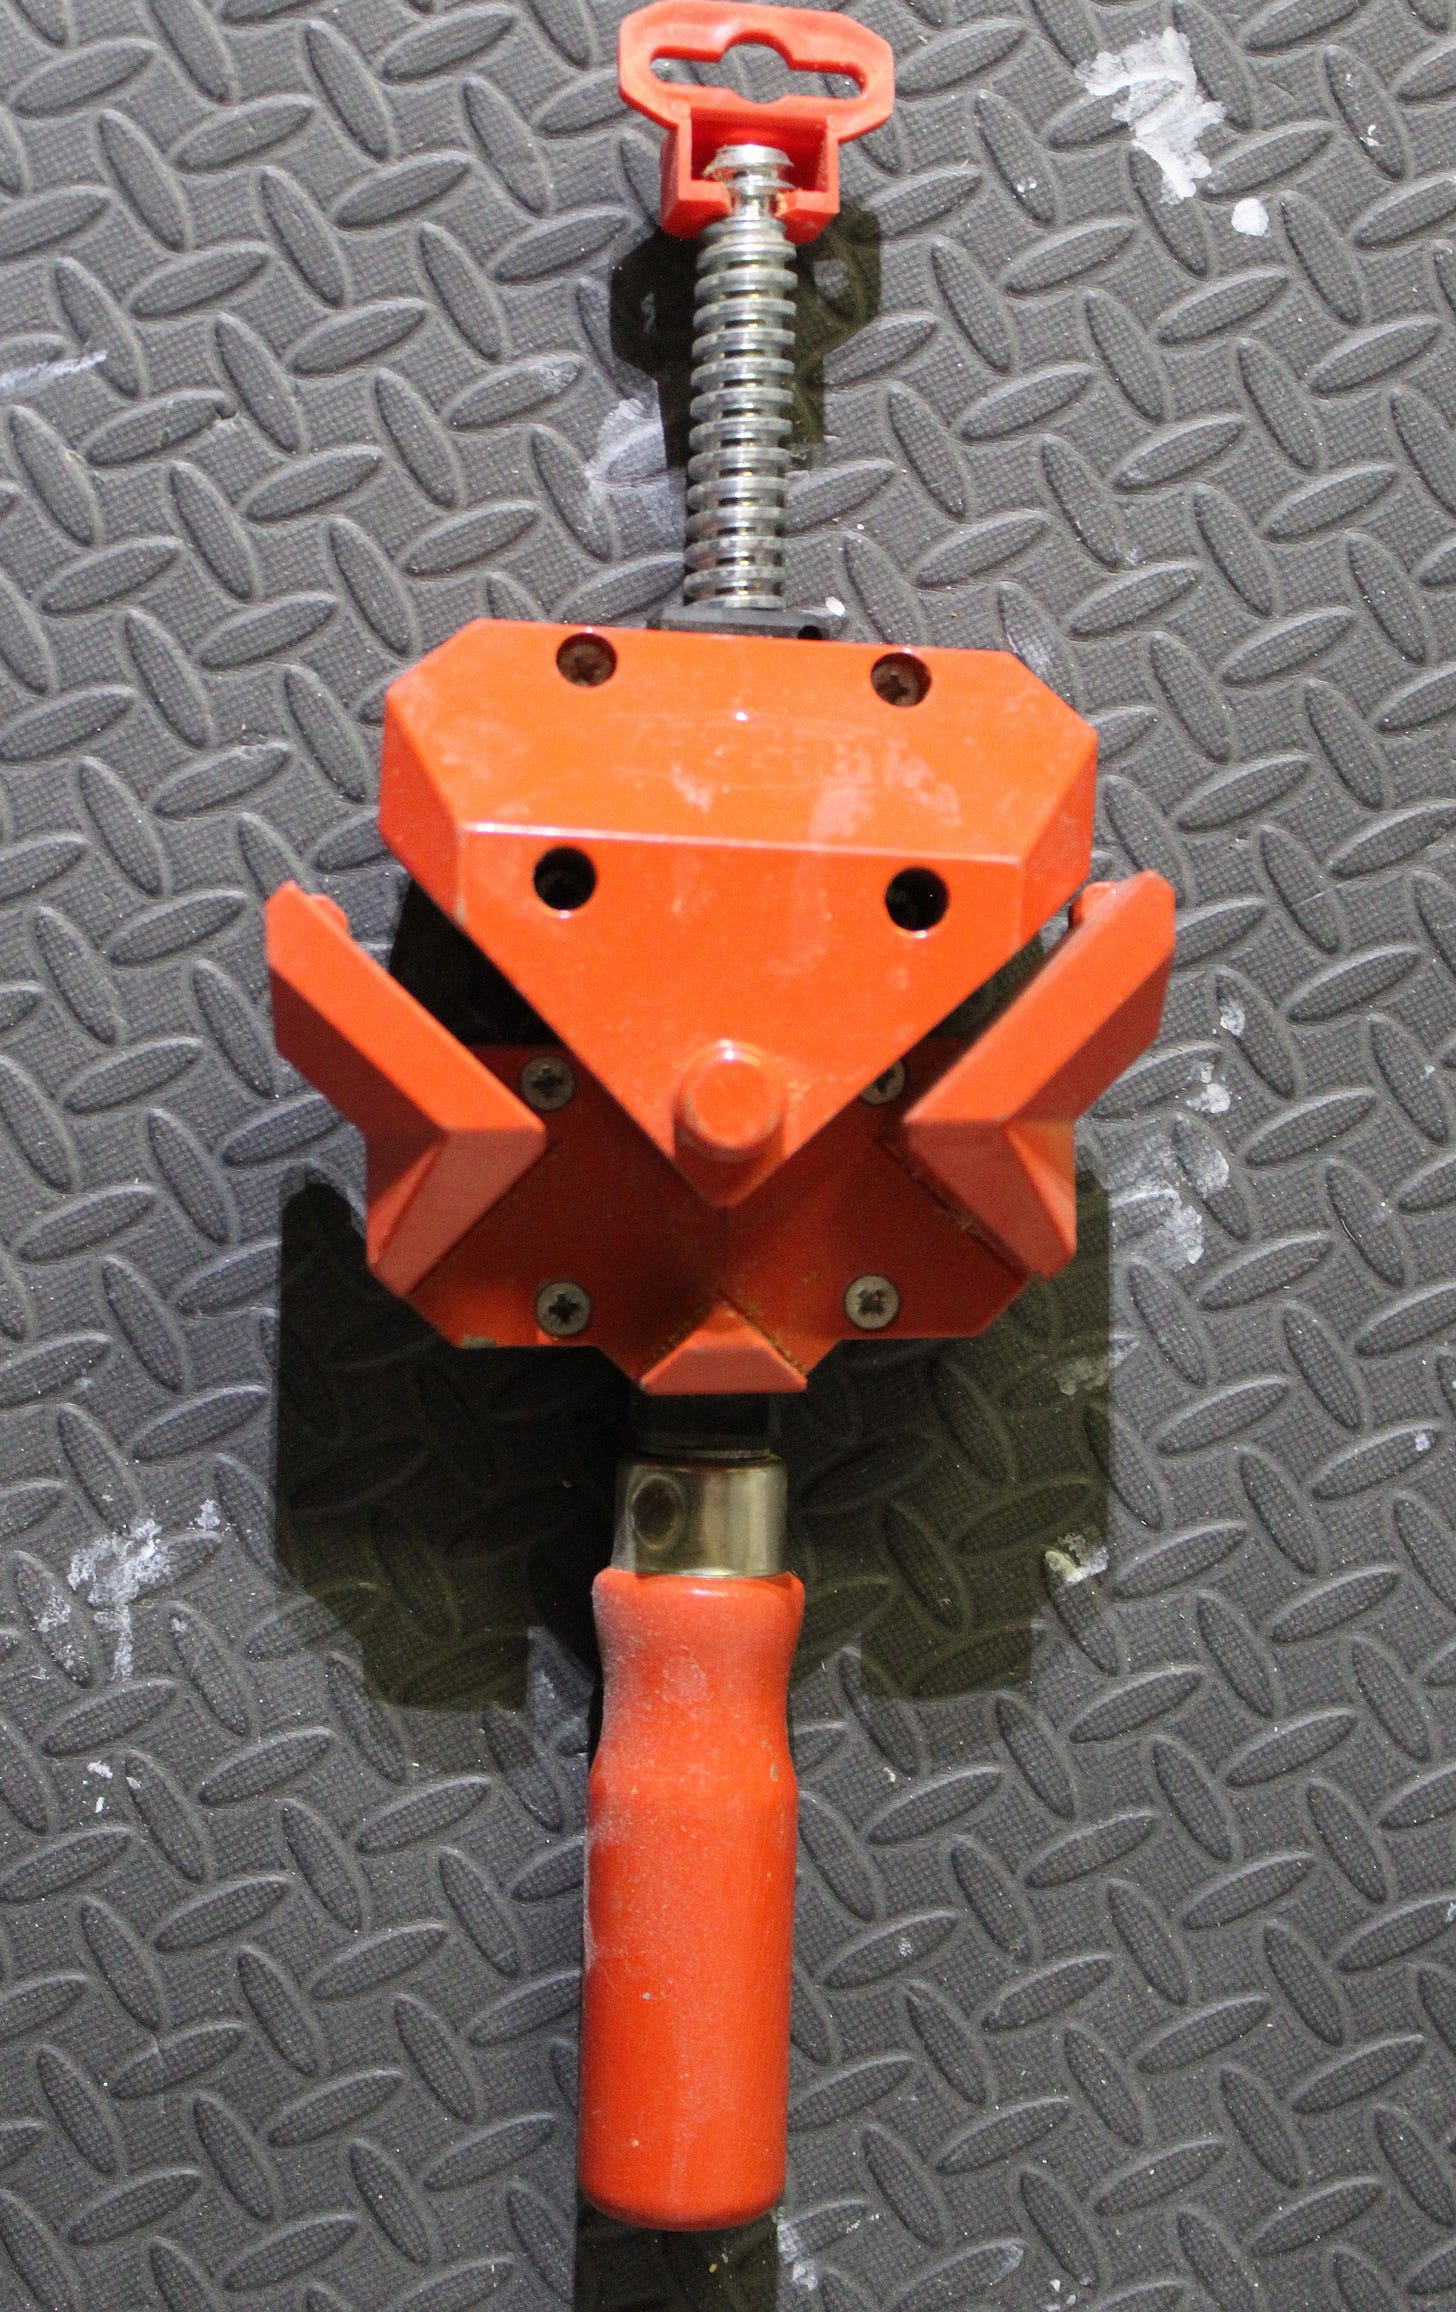
I include photos of the 2 gismos above to show what I DO NOT use. You end up buying things that seem like they SHOULD work well, but DON’T in actual fact, at least not for making frames of this small scale. These 2 miter join tools would likely be helpful for making bigger frames. But for my small things, I just need the constant close-quarter feedback from hands and eyes to ensure squareness and accuracy, and these tools are too cumbersome and actually prevent that feedback.
Once the sub-frame is make, the side strips are cut on the miter saw and joined with 1” brads and a battery powered nail gun…works great….you don’t need a compressor! Glue is applied when the corners are joined, and after the whole frame is build, 1” finishing nails are put into the corner ends for added strength, and these are done just with a hammer. The holes for this are pre-drilled to prevent any wood splitting at the edges, and the nails are counter sunk with a nail punch. I can set the nail gun pressure to counter sink all the other brad nails, so that lessens my work.
Even if you are really careful, some minor planing will need to be done to ensure corners are totally flush. I use a small Stanley block plane. I spent time learning how to properly sharpen a plane blade. This is essential because a plane blade needs to be sharpened periodically. There are some excellent planes out there, but I have a very basic starter piece. Learning to sharpen plane blades is an art in itself. It takes a bit of practice to get good at planing. I hold a bit of scrap wood flush with corners to prevent tear out when the plane blade exits the wood. There is a host of little tricks/tips that you develop to solve construction problems as they happen…it’s all part of learning craftsmanship.
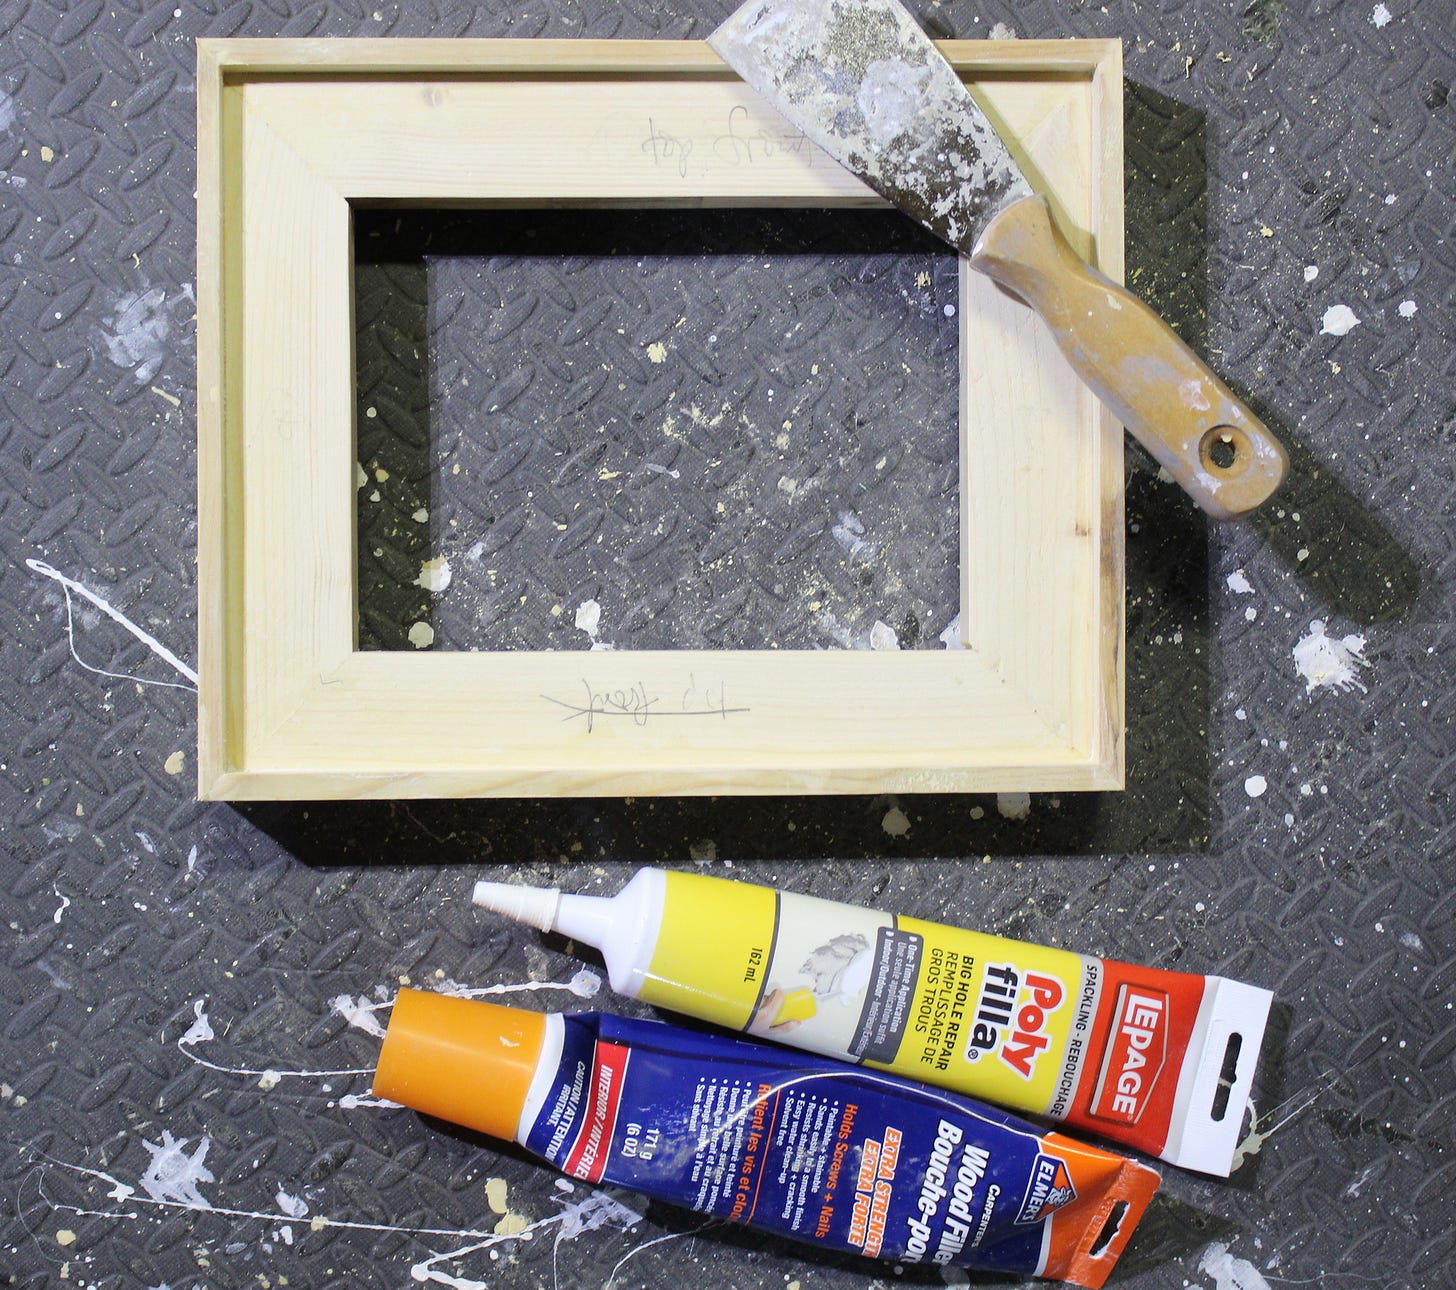
Next comes filling and sanding. Filler is always to be used sparingly and is only for counter sunk nail holes and shallow seam gaps where one piece of wood meets another. Don’t expect to use filler to hide a basic construction error……it will still look like a mess! I use wood filler to fill nail holes, and PolyFilla to fully close the edge seams. I usually wait overnight for the PolyFilla to fully dry before I sand.
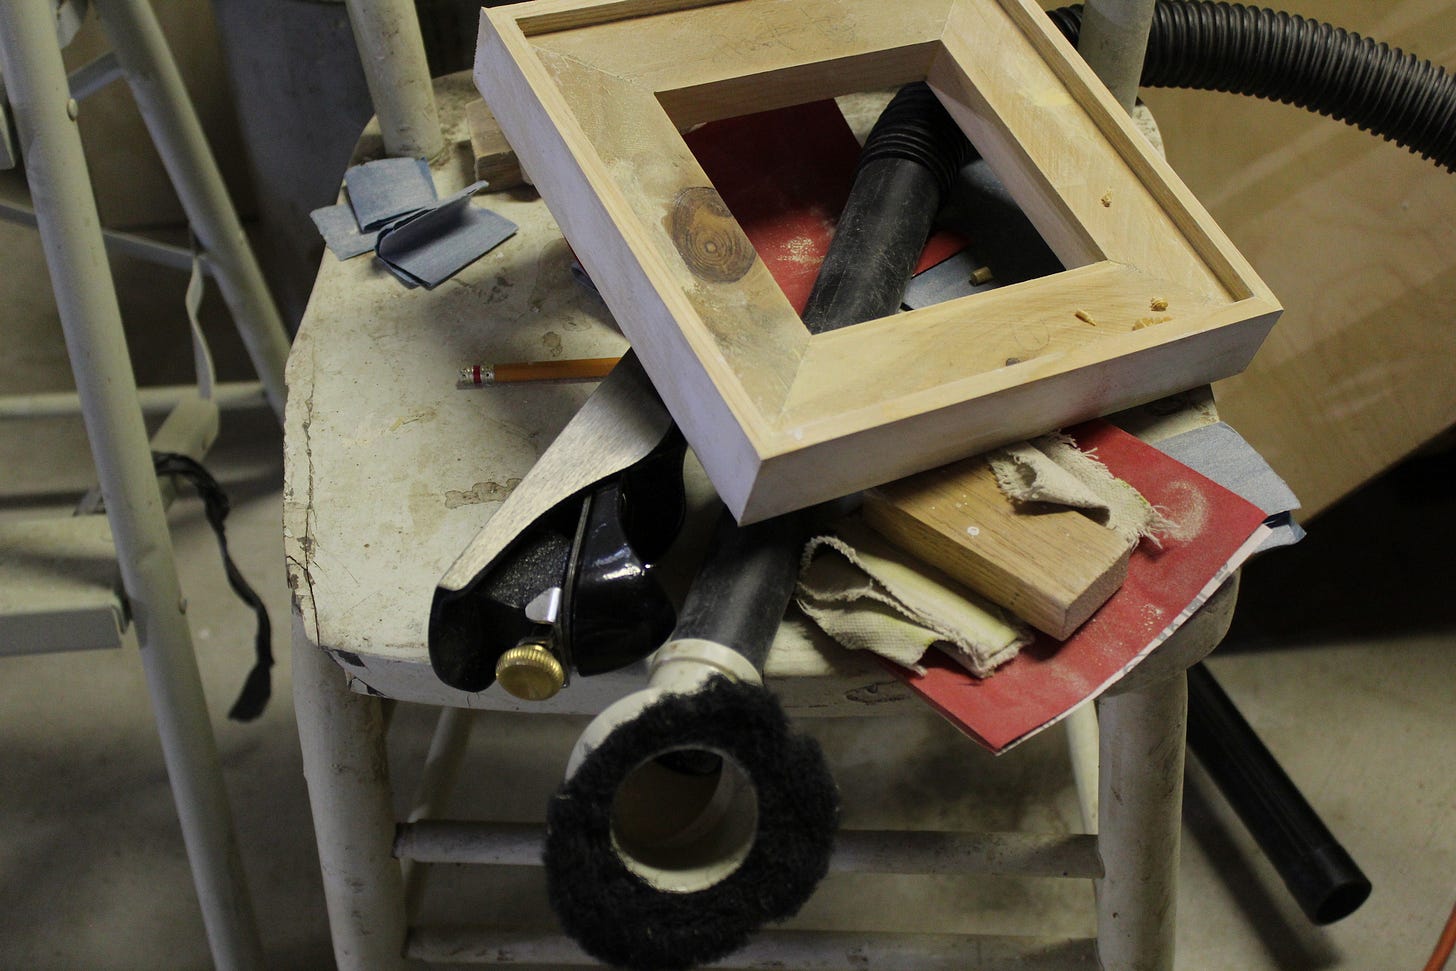
I do the sanding with the vacuum running. It’s a small frame so I can sand right at the suction point and most of the dust is taken. Do anything you can to keep sawdust to a minimum and always wear an N95 particulate mask if sawdust is in the air.
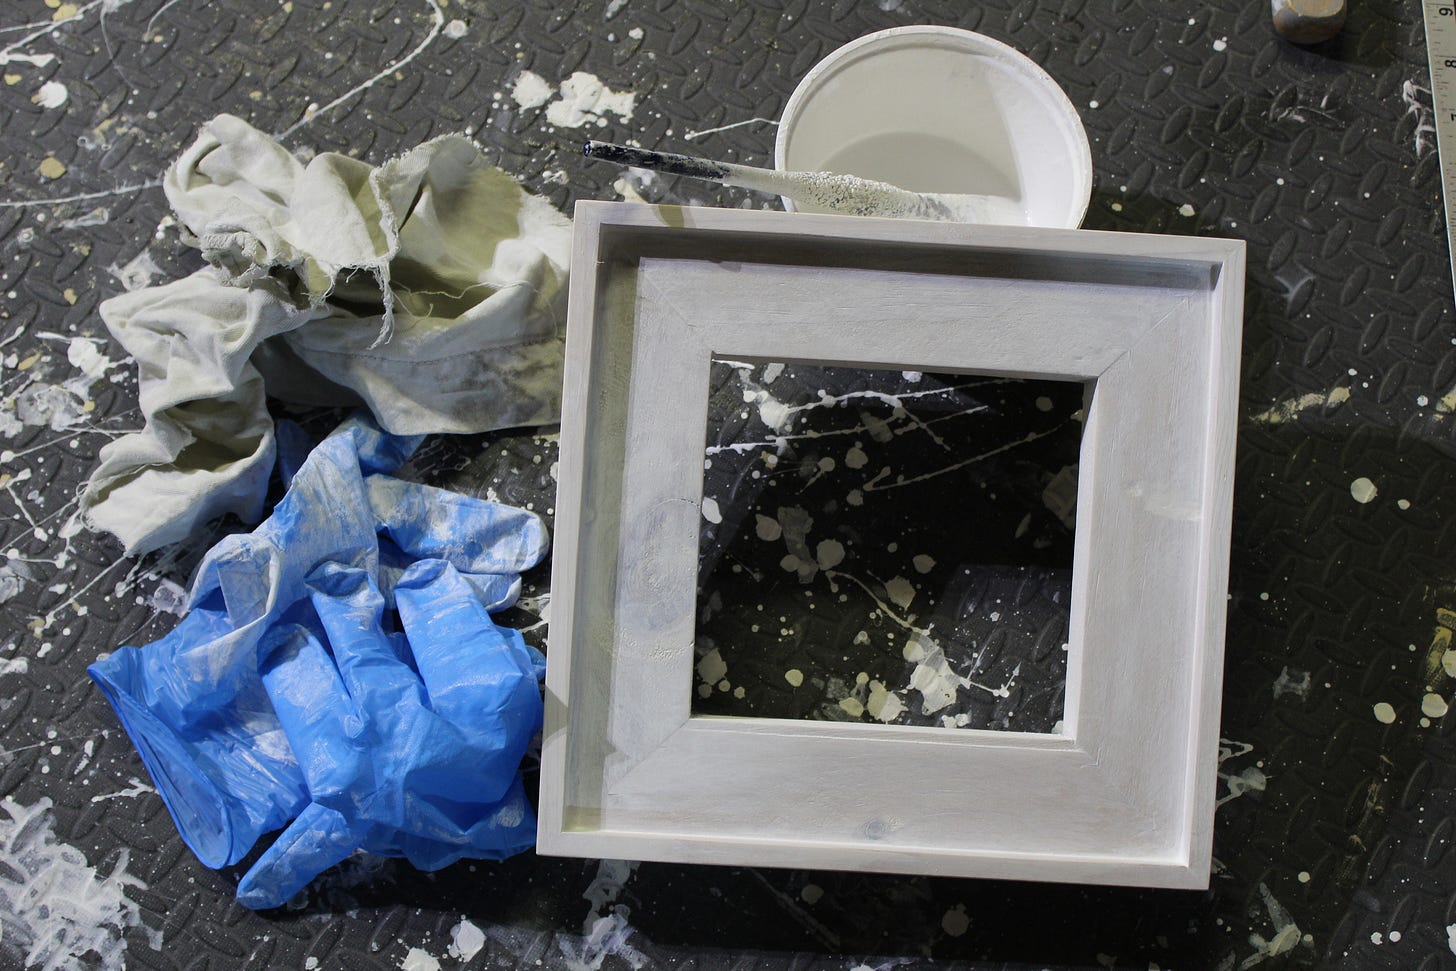
An old habit from younger days..working on the floor. The knees can still take it…sort of. A rubberized shop mat can be easily vacuumed for dust before I start white washing, and I don’t worry about messing up the mat with paint spatter. 1 part satin white latex to 1 part water. I apply this mixture nice and loosely and wipe immediately with a soft cotton cloth.
I then take a hair dryer to the frame to fully dry it, before I apply the second layer of whitewash.
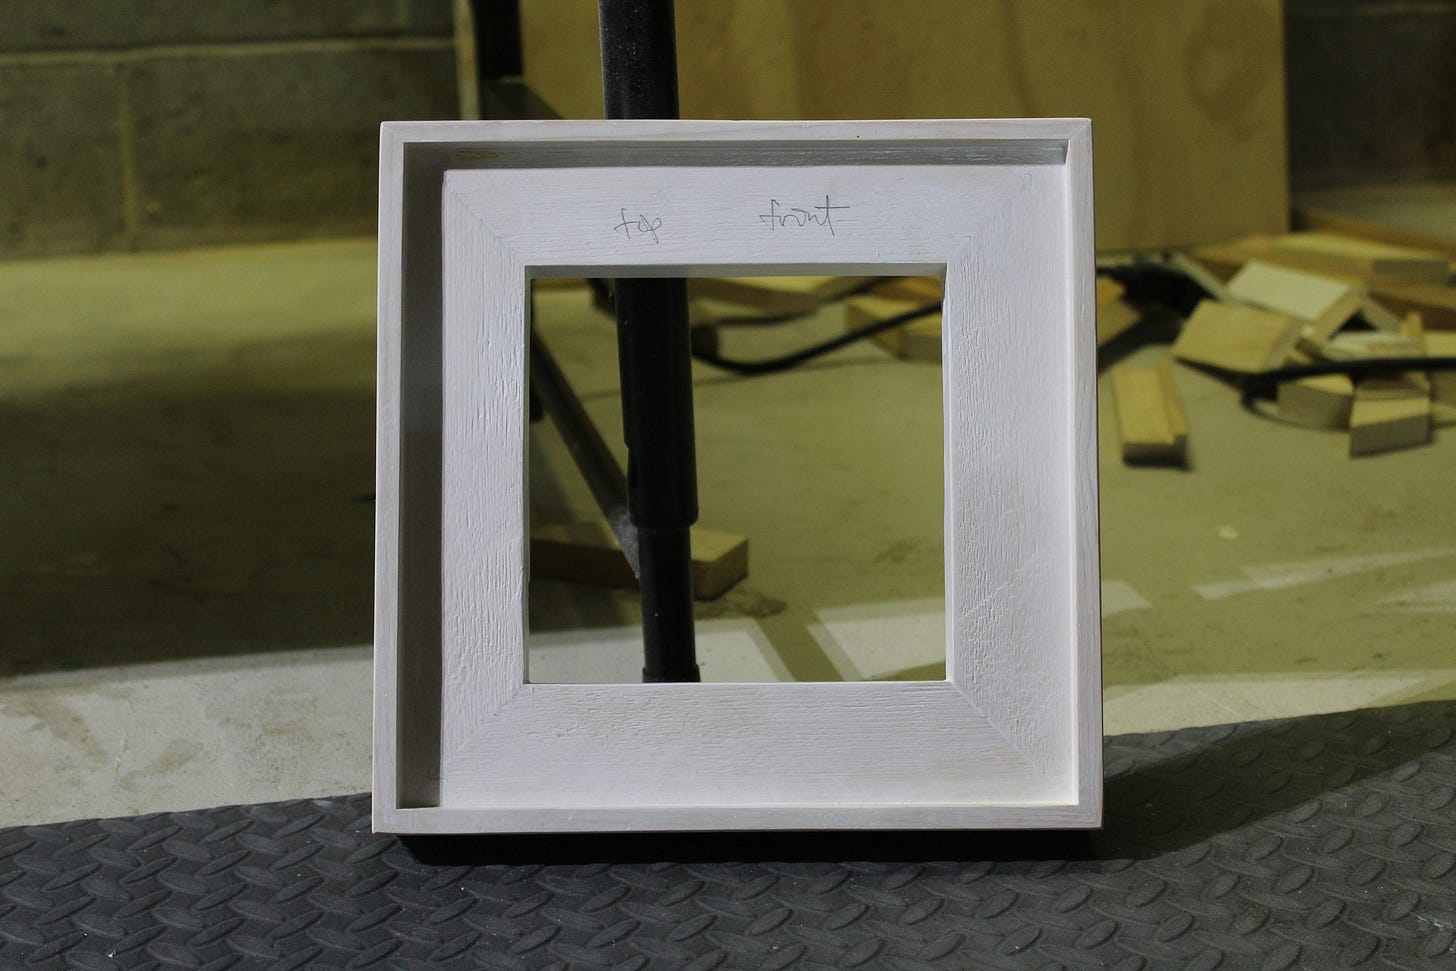
The frame is now ready for 3 coats of satin water-based non-yellowing varathane. The frame has been labelled so no mix-ups in positioning happen later. The back of the frame will be painted white and varathaned as well for a nice clean finish. The varathane is a tough finish, much more so than paint, and protects the frame from paw marks over time, and makes the removal of tiny bits of dust and debris more effortless.
2 sided foam tape is used to secure the painting to the frame (1 little piece in each corner..a little goes a long way). I tested my tape on scrap pieces to ensure that removal of the panel at some point in the future would not hurt the panel….safe and sound…no damage to the panel!
I tested a variety of hanging methods but this is my favourite…clean and simple, so easy to install, and this method allows the painting to hang perfectly flat and flush with the wall. The pieces are signed at the front and signed and titled at the back. This is done on an adhesive sticker, and then the sticker is varnished over with acrylic varnish to make it non-removable and part of the panel.
I’ve still missed a number of steps, but you get the idea of how these frames come about. It’s exacting work constantly refining the construction craftsmanship but it’s rewarding because it really showcases the work.
I’ll continue making the frames for a few more months and then I’ll likely have to stop, or at least slow the process dramatically. I make a lot of work, and I sell a lot, but I still make more than I sell, so I can’t really warehouse all that many framed pieces….50-60 might be about the limit.
If you have any further questions about how I build and finish these frames, please ask. I know I’ve left a lot out.
The daily paintings and drawings continue, as always. Everything I make is listed the next day to both my sites below:
I hope you enjoy your summer, and that you stay safe and healthy!








Thank you Harry, a very thought provoking post.
With regards the floater frames, I came across an artist recently who made similar frames. The art panels were secured to the frame using Velcro dots so that if the artwork didn’t sell he could easily remove and install another artwork into the frame and keep the original artwork panel. This artist worked in a few standard sizes so artwork panels were easy to change out of the frames. I thought this idea was excellent.
Thank you Harry for your wonderful post! I remain hopeful and optimistic that the majority can overcome the fringe minority that wreak havoc with democratic governments. The least we can all do is vote. And that is happening in greater numbers as folks are seeing their rights destroyed, books banned and hate flooding our societies. I hope we win for all our sakes. And for the next generation who need a planet to live on.
On the painting front I’ve been exploring more abstraction and loose vocabulary which drove me to making some smaller pieces around 12” x 16”. And I’ve been doing some weed paintings which are very small. I love it. The whole experience has been more intimate and the work reflects that even with my struggles as I traipse into less known territory. On a technical note my husband makes my floating frames and uses only wood glue to hold them together. I grilled him on this and he thinks the glue is durable enough by itself. I have no opinion as I have no expertise with this. But what are your thoughts here? Is wood glue something that dissolves over time?